Sending a Document
Step-by-step Instructions
Step-by-step Instructions
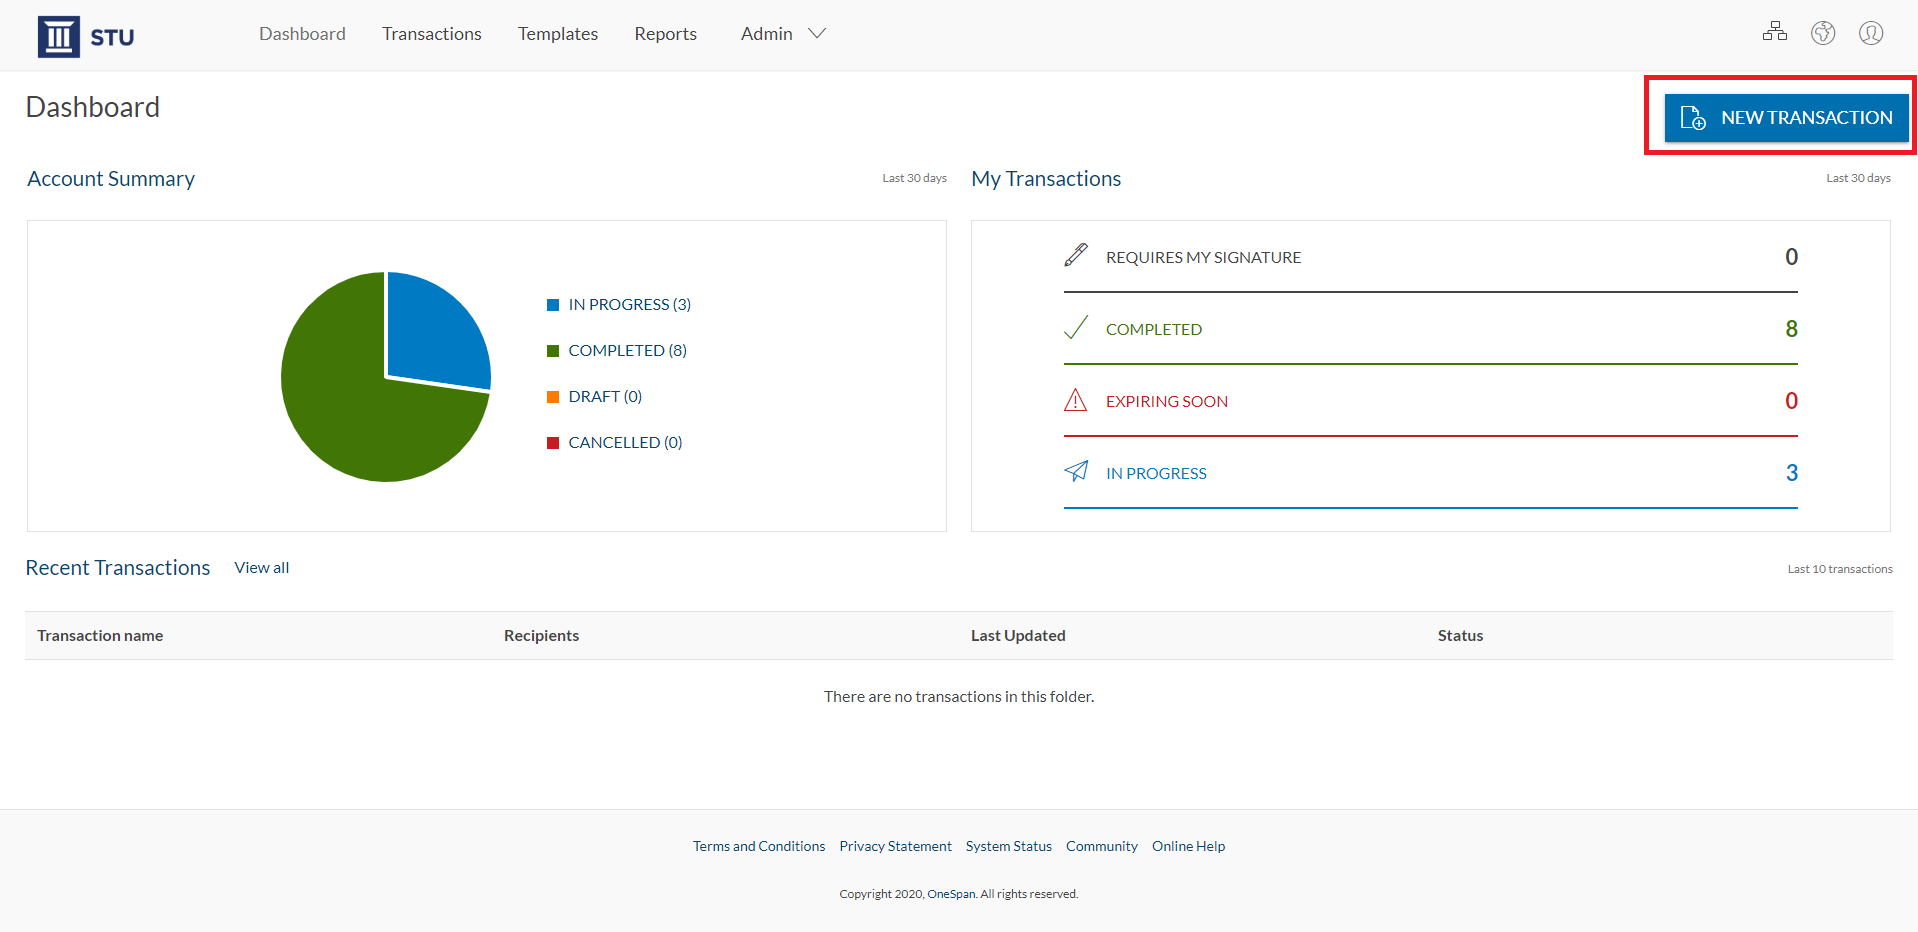
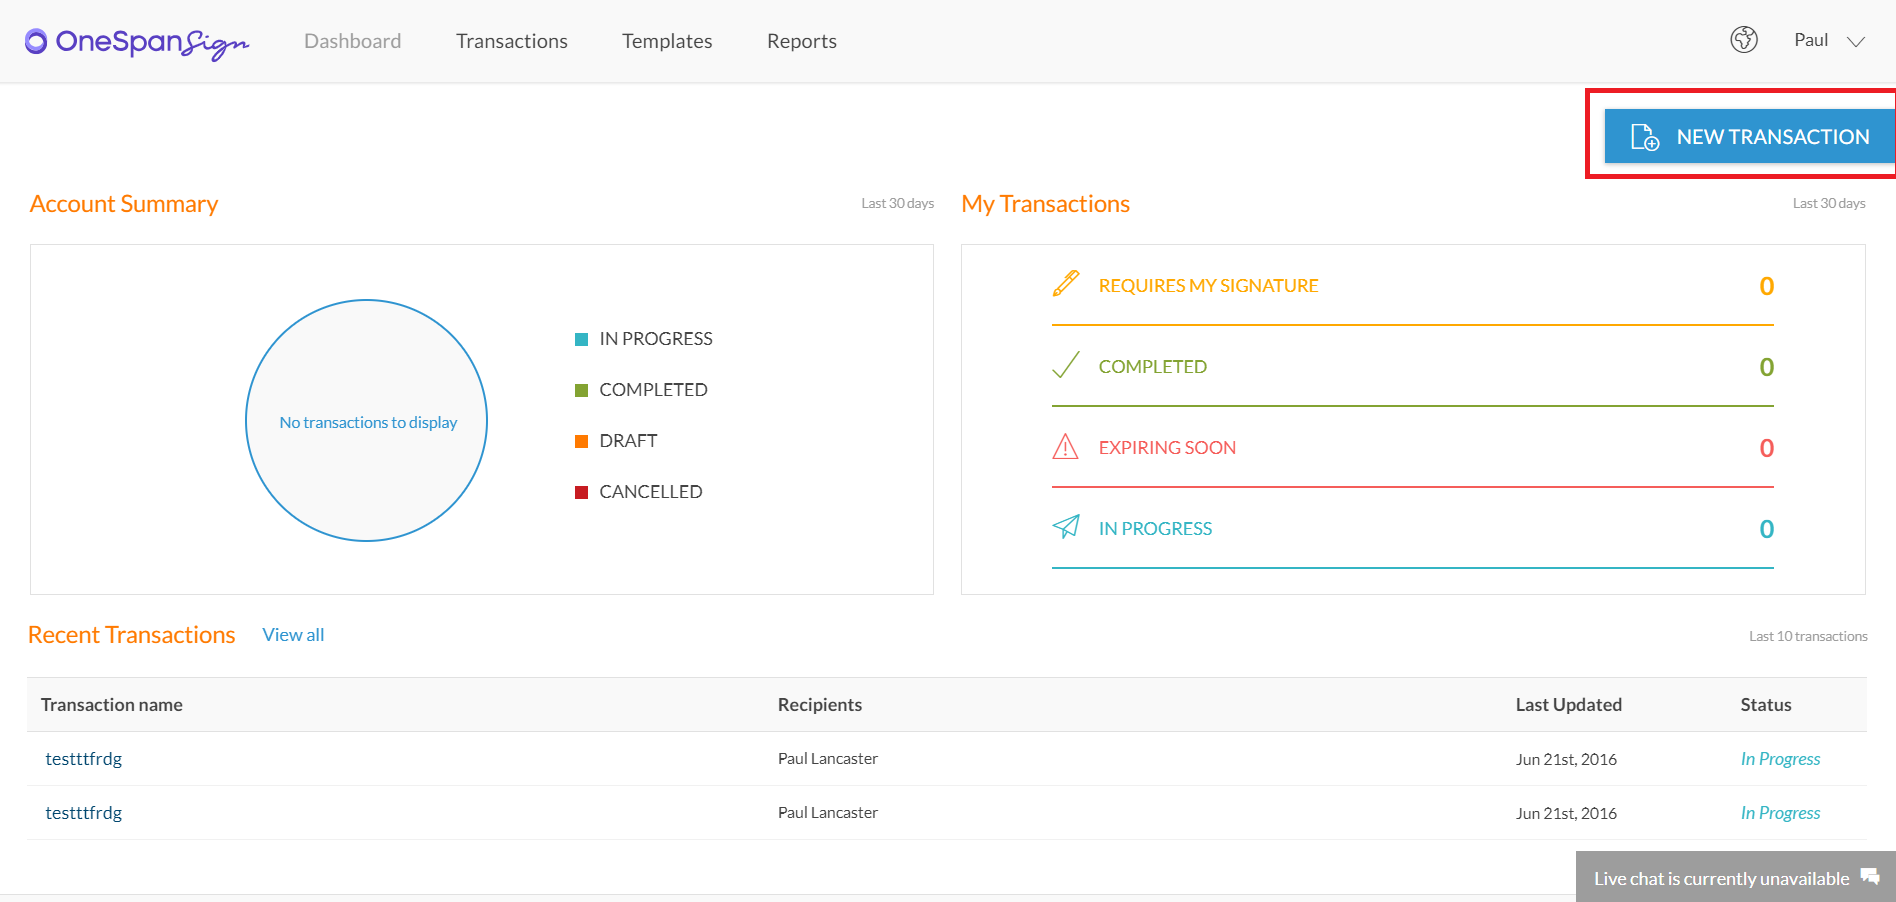
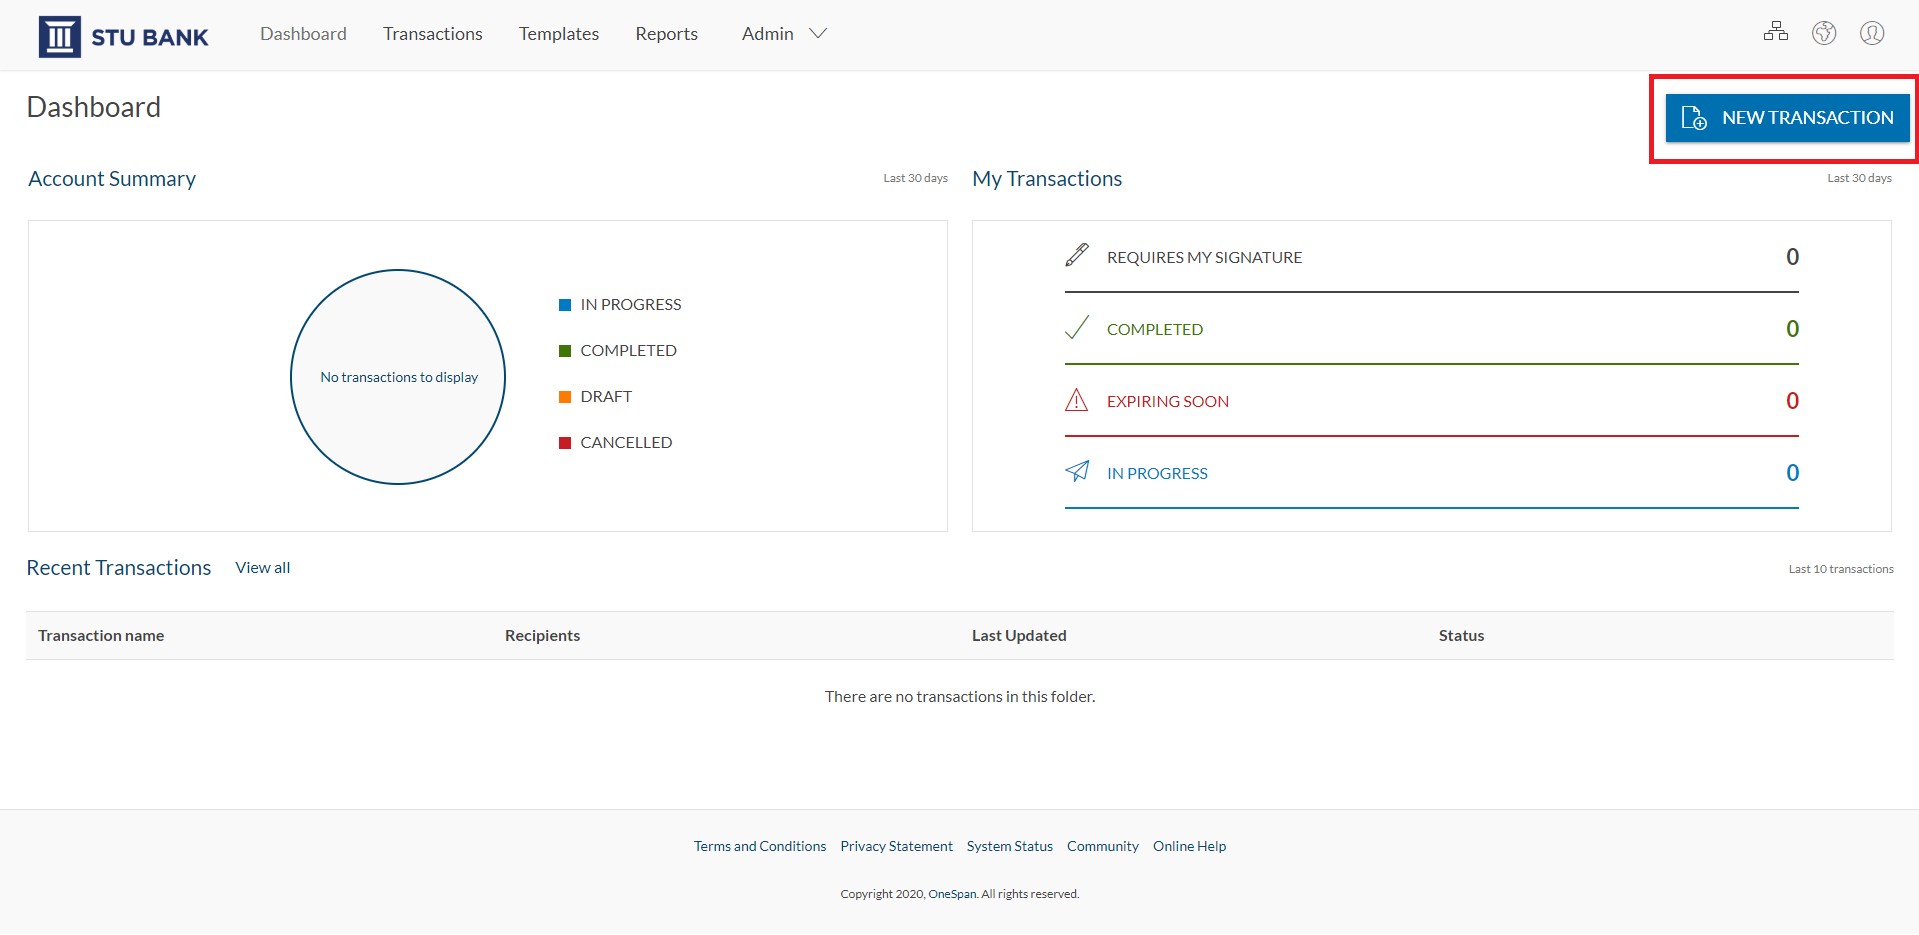
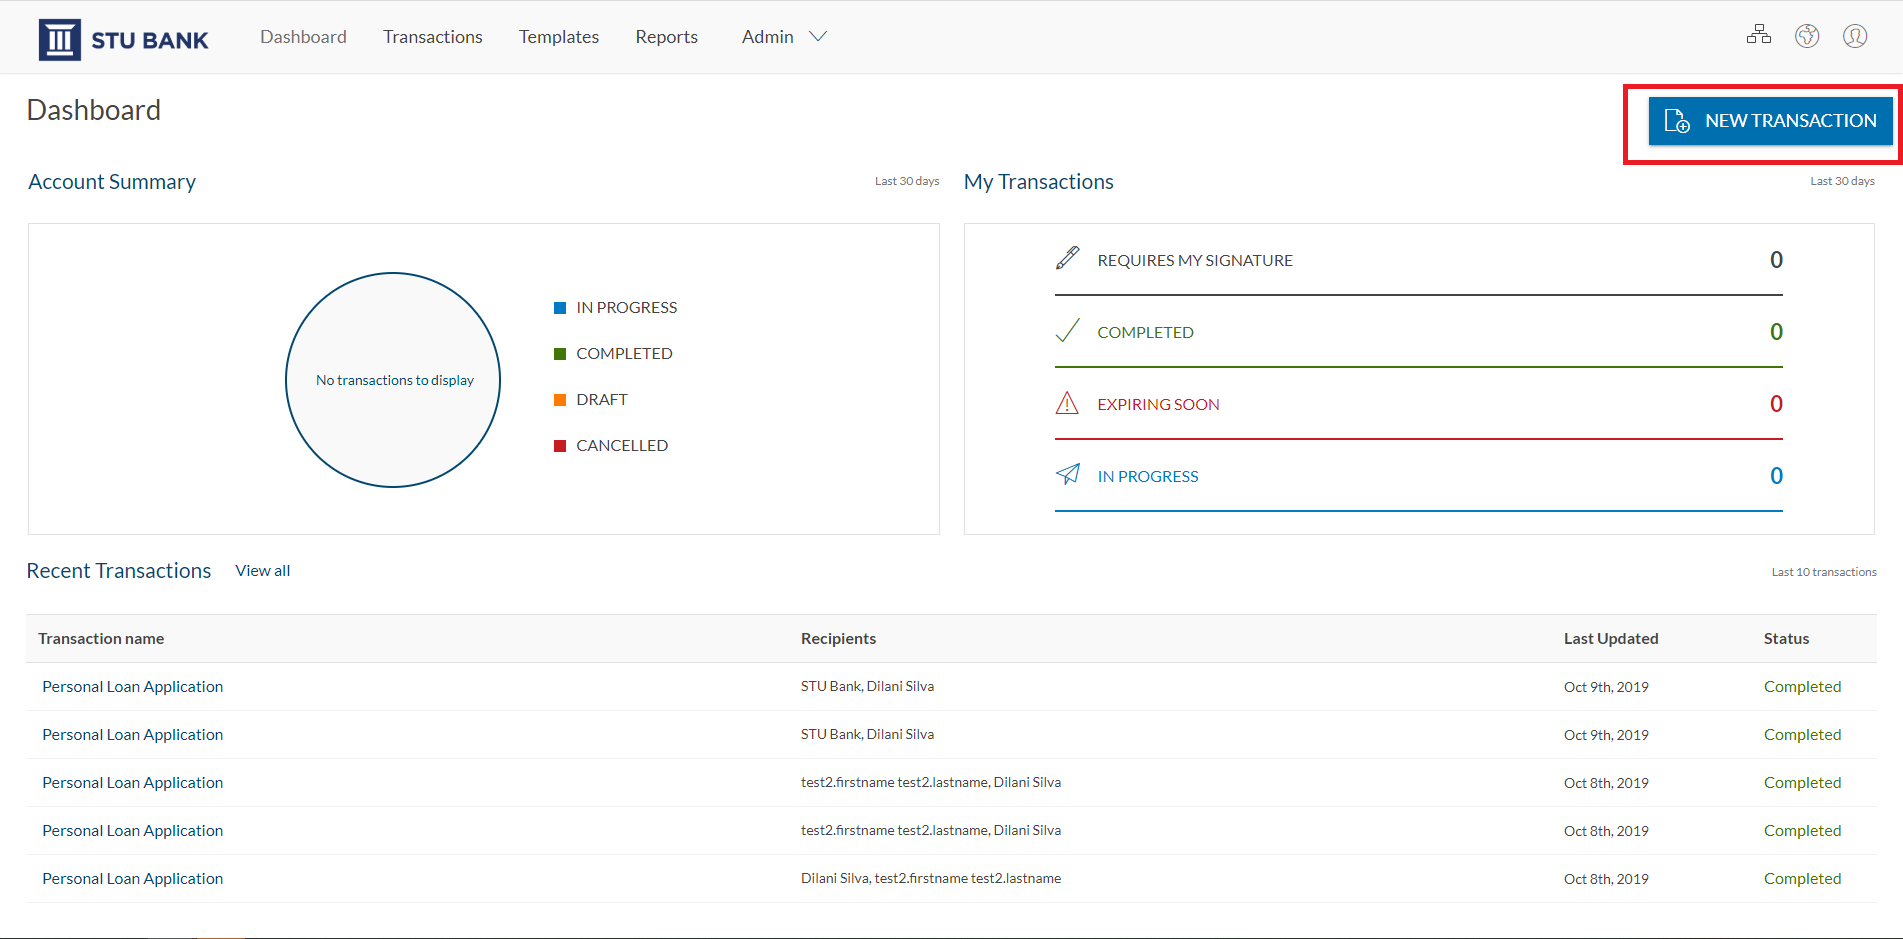
1) Click the ‘New Transaction’ button in the top right hand corner.
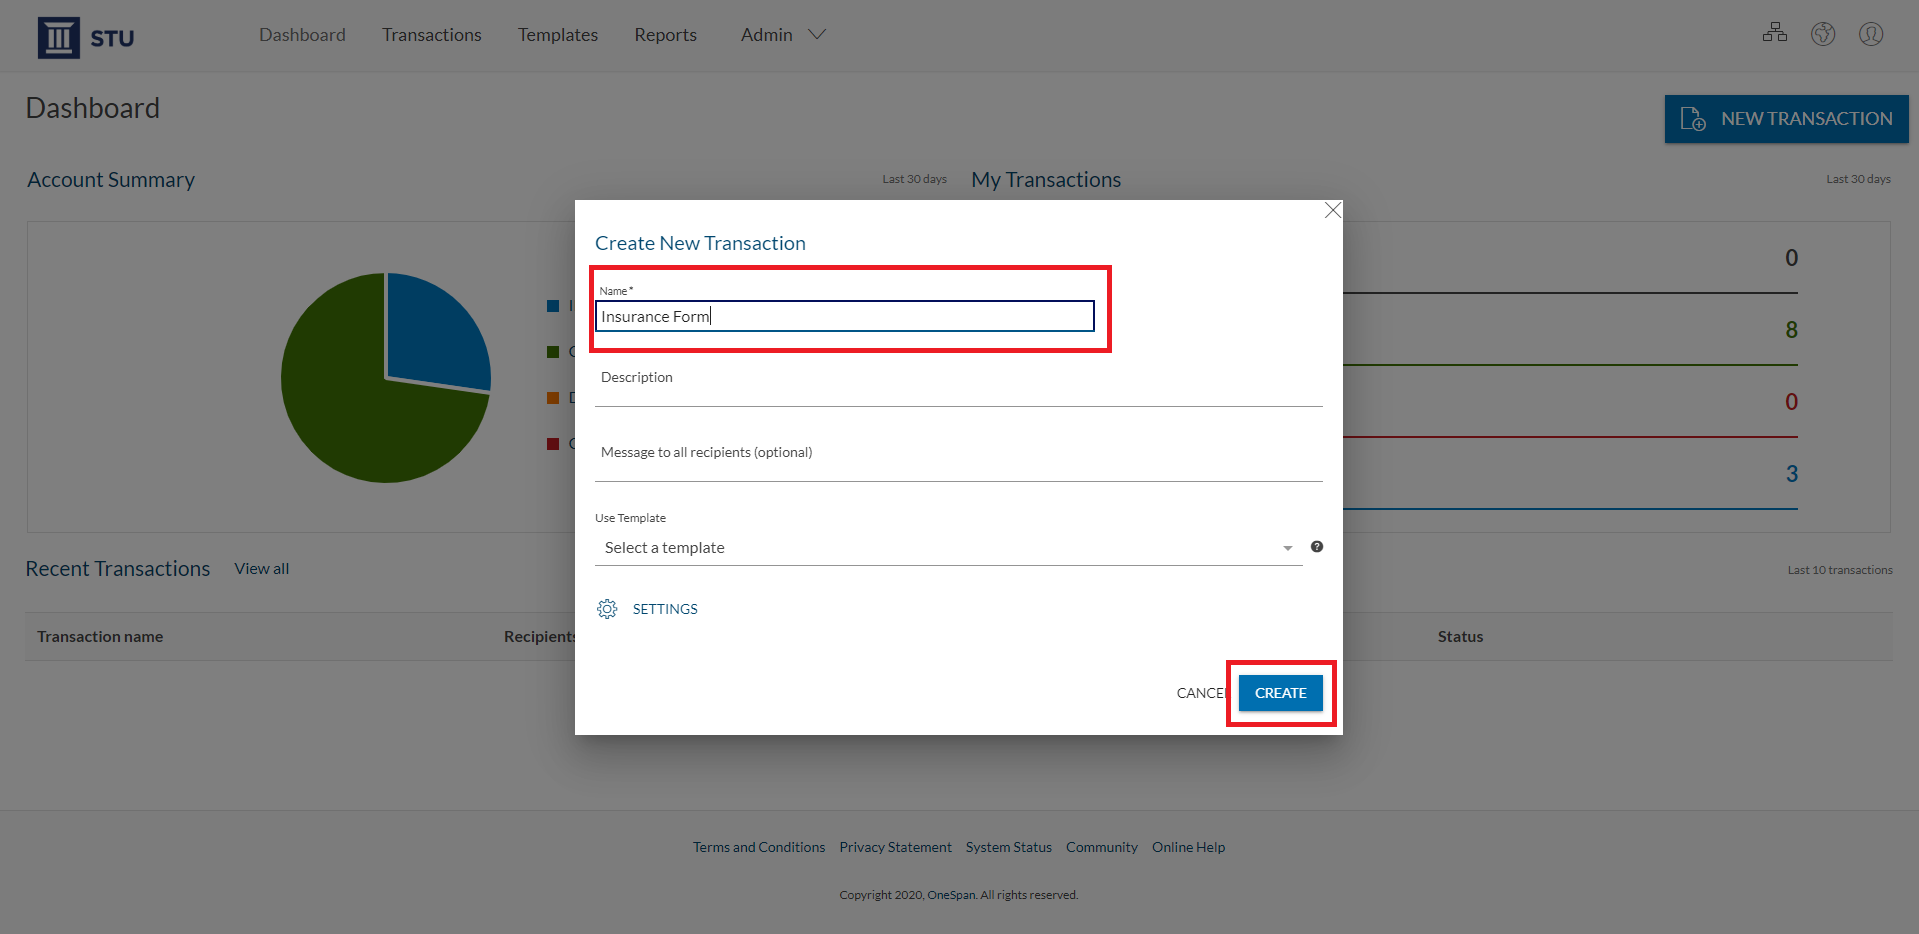
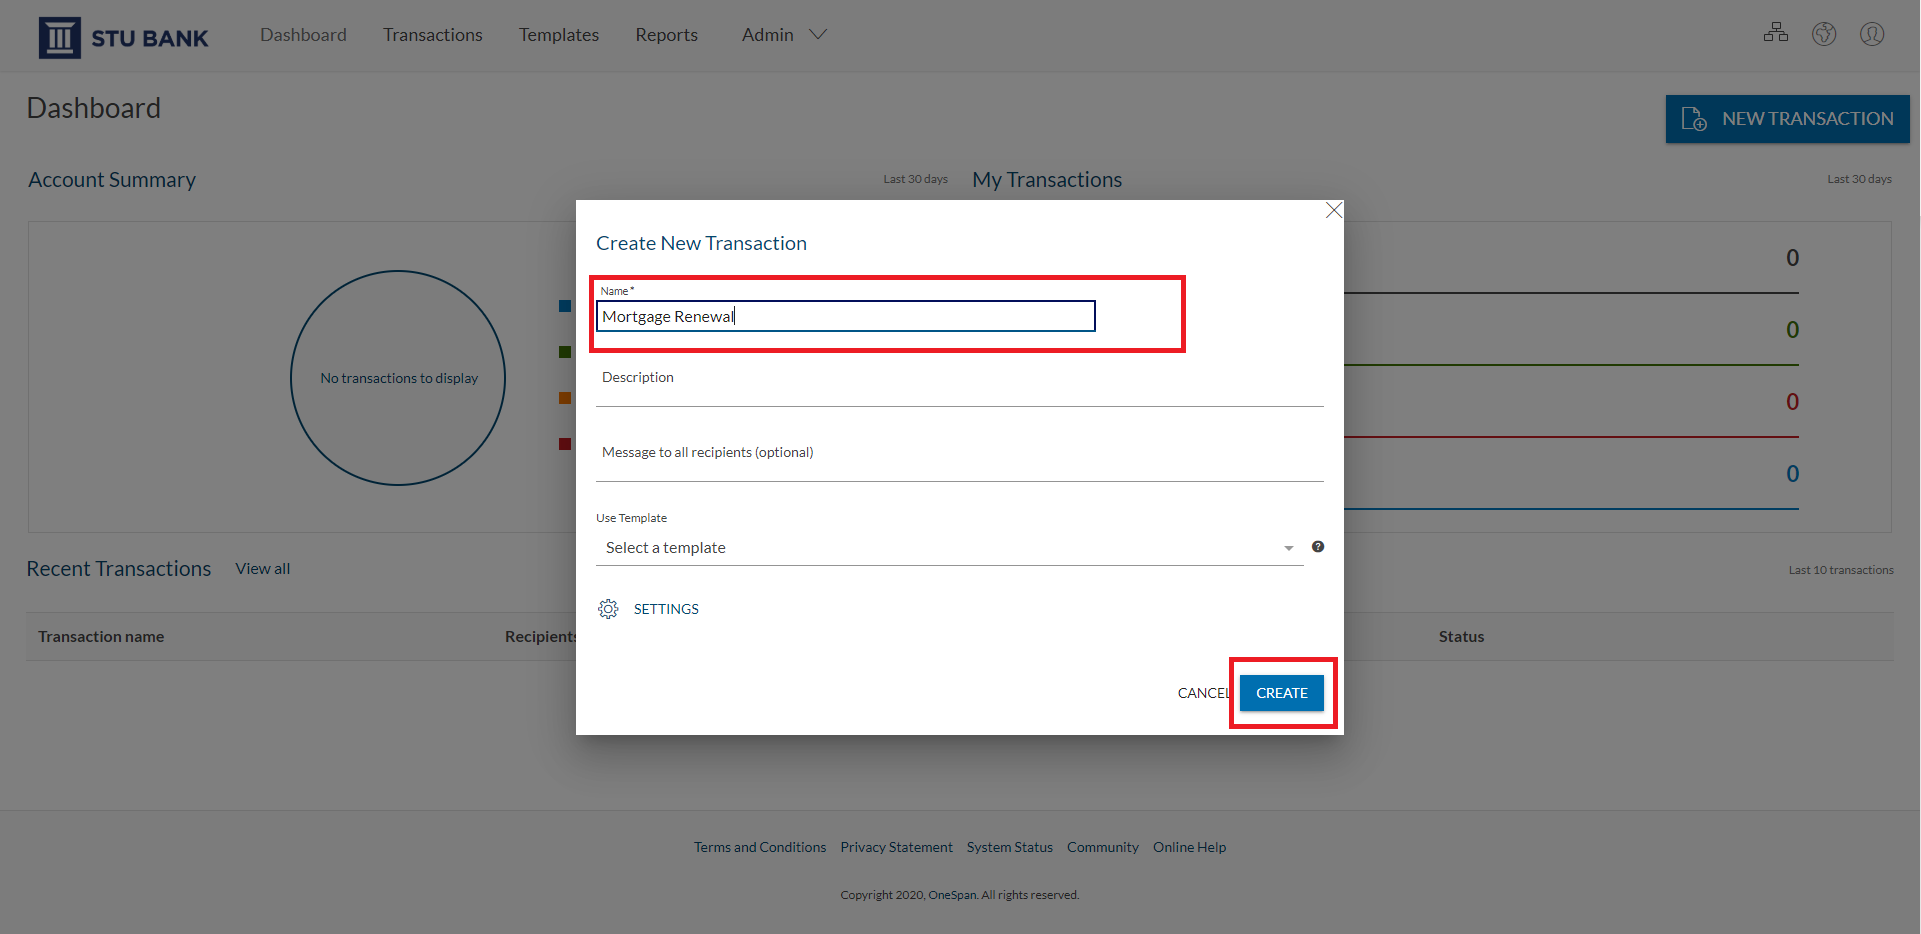
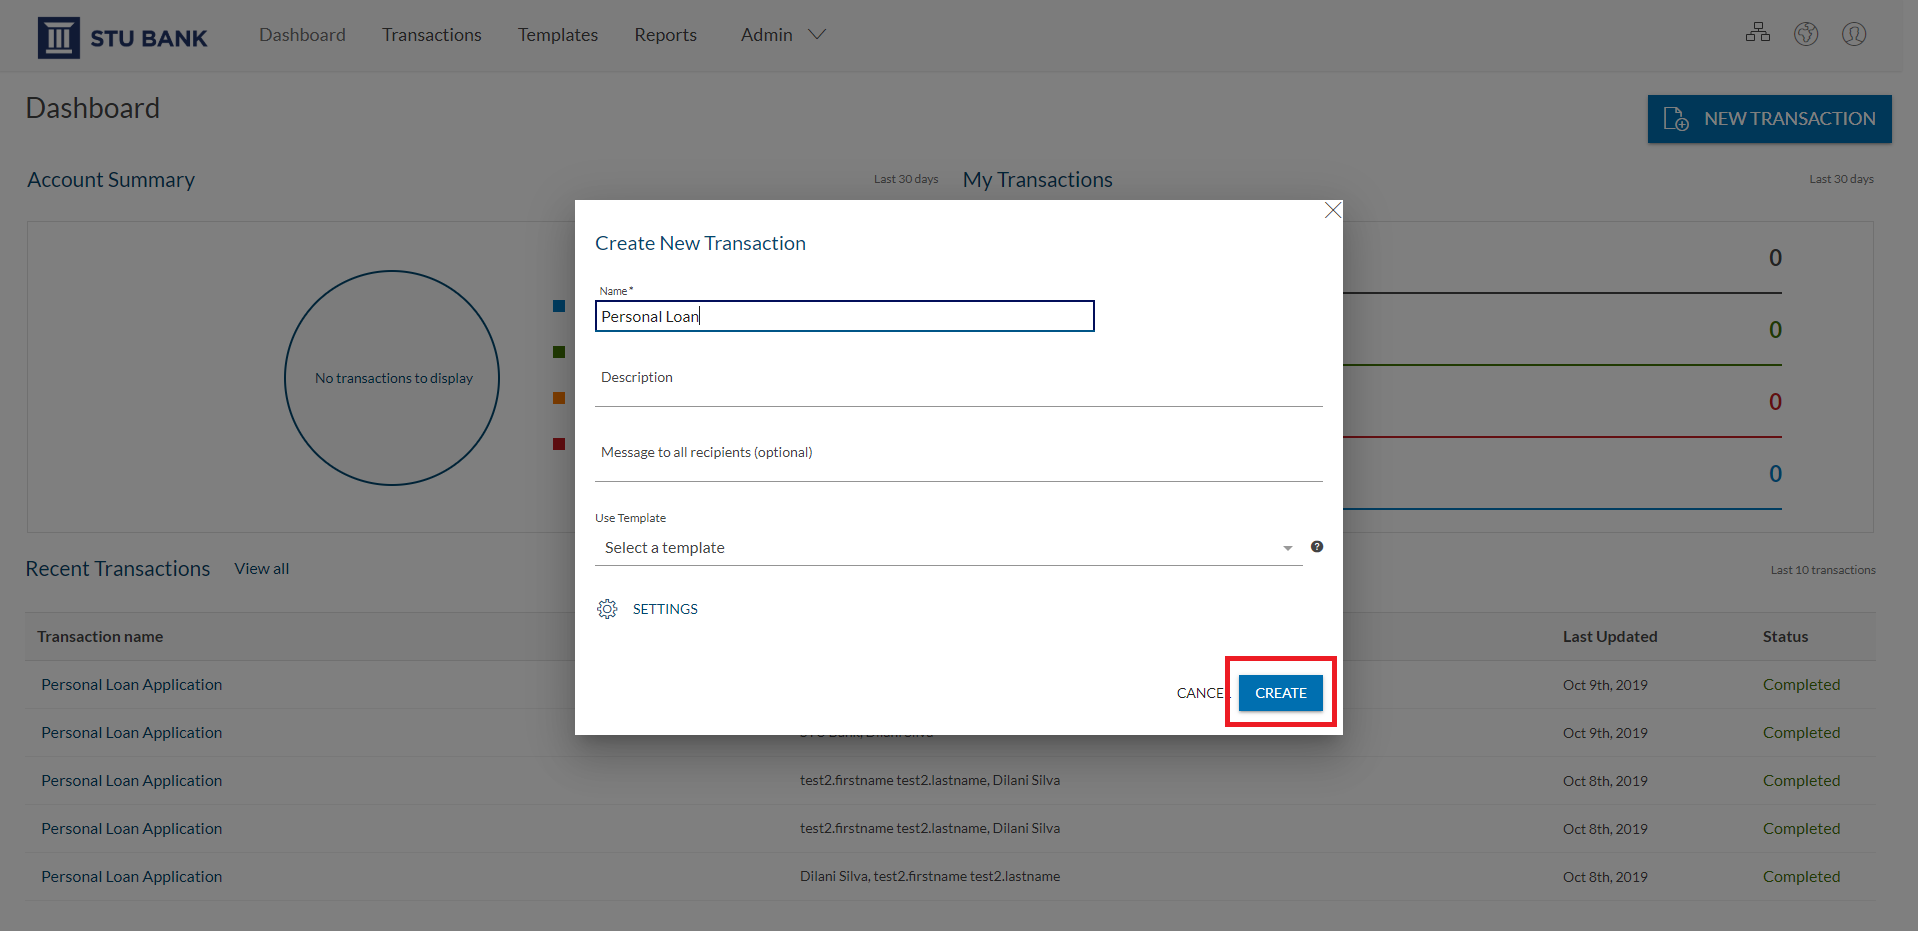
2) Enter a title for your transaction. Click the ‘Create’ button.
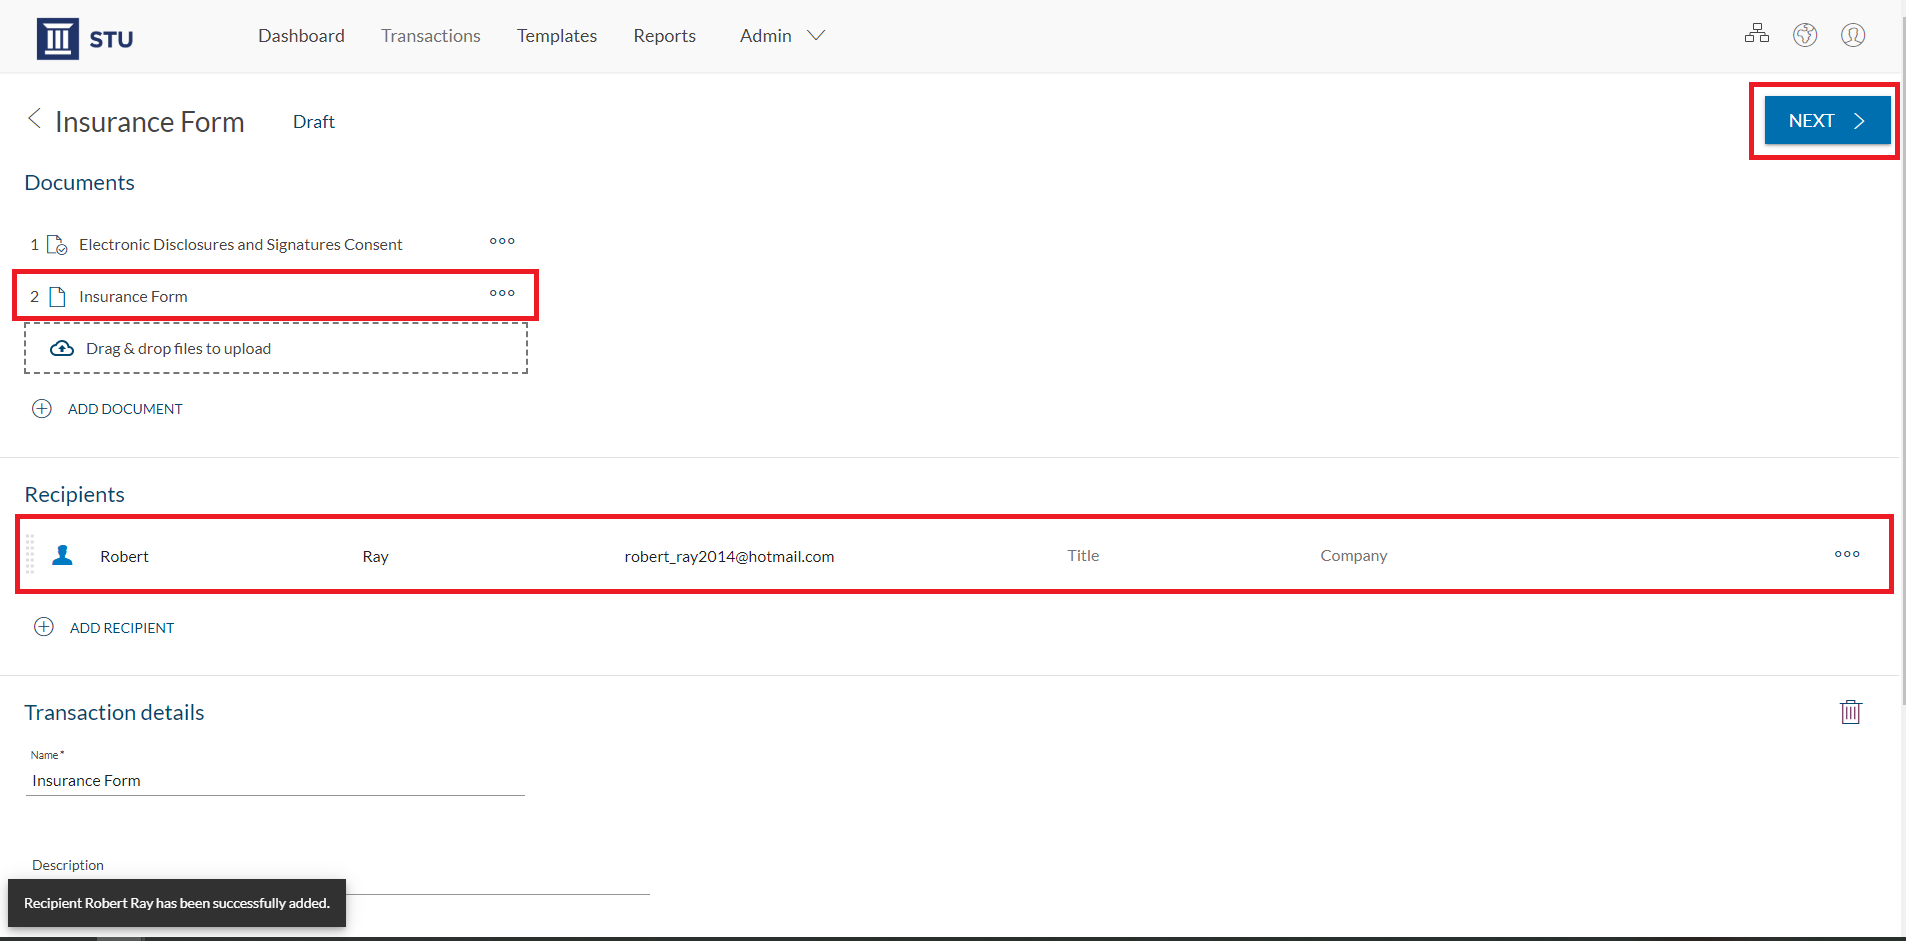
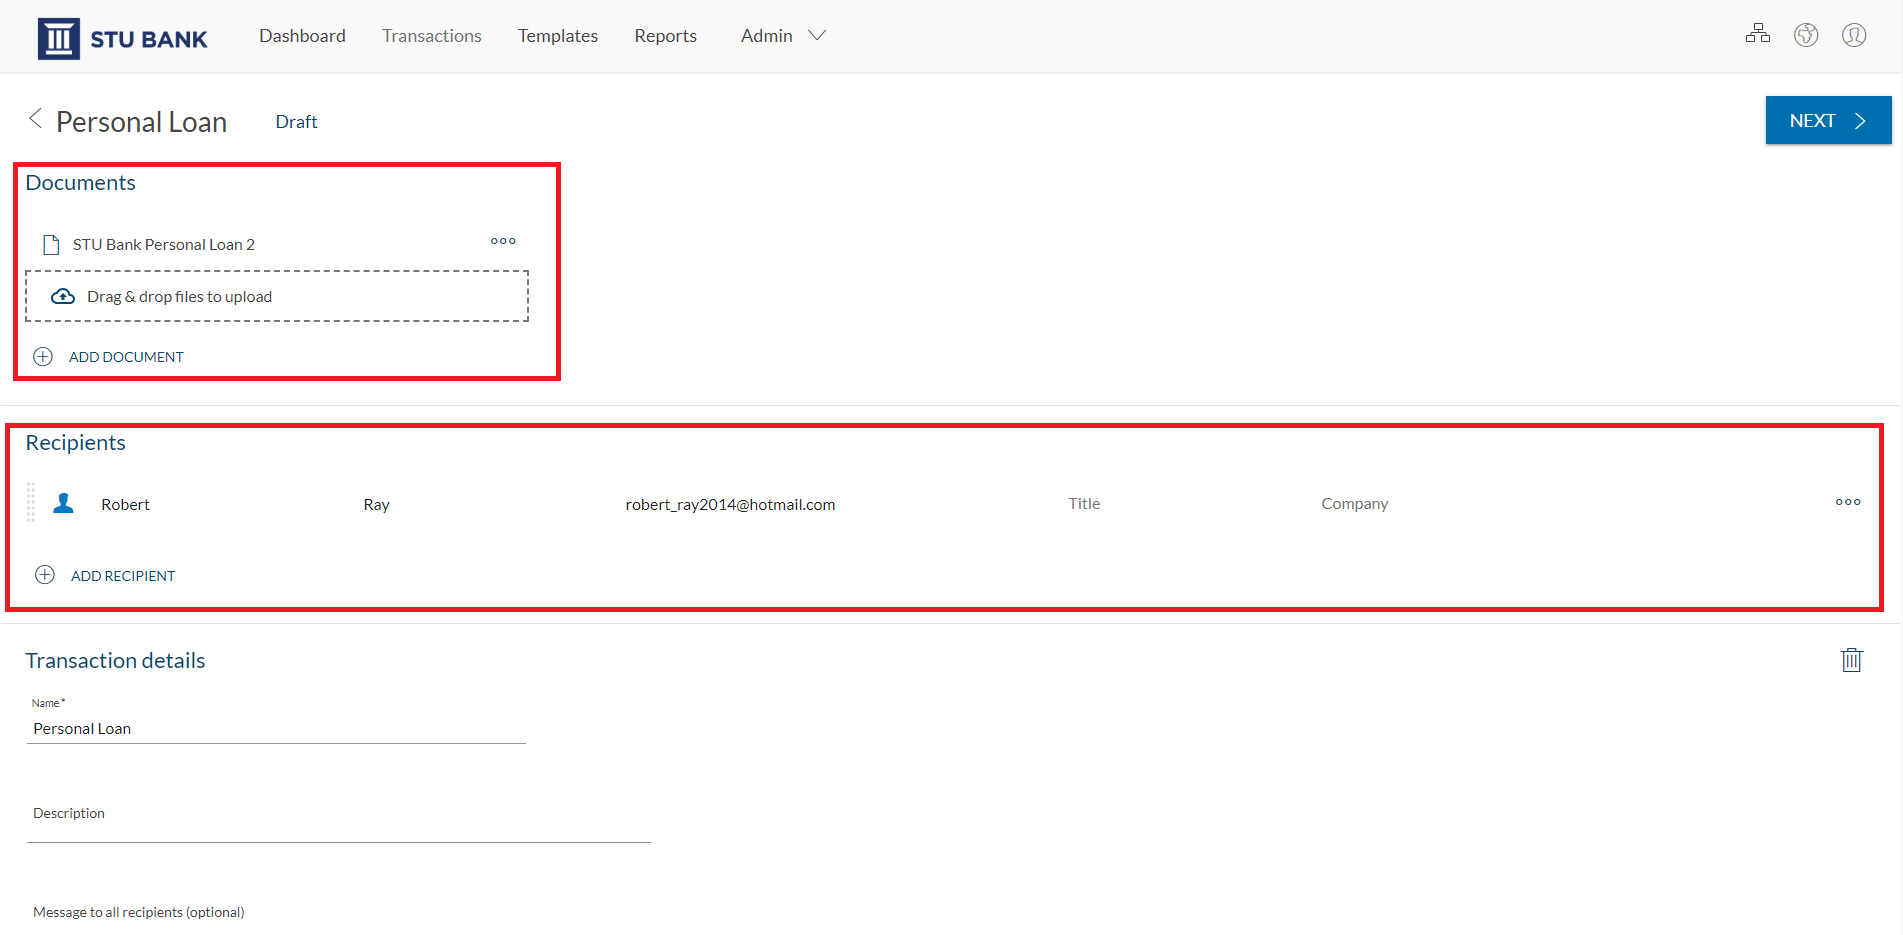
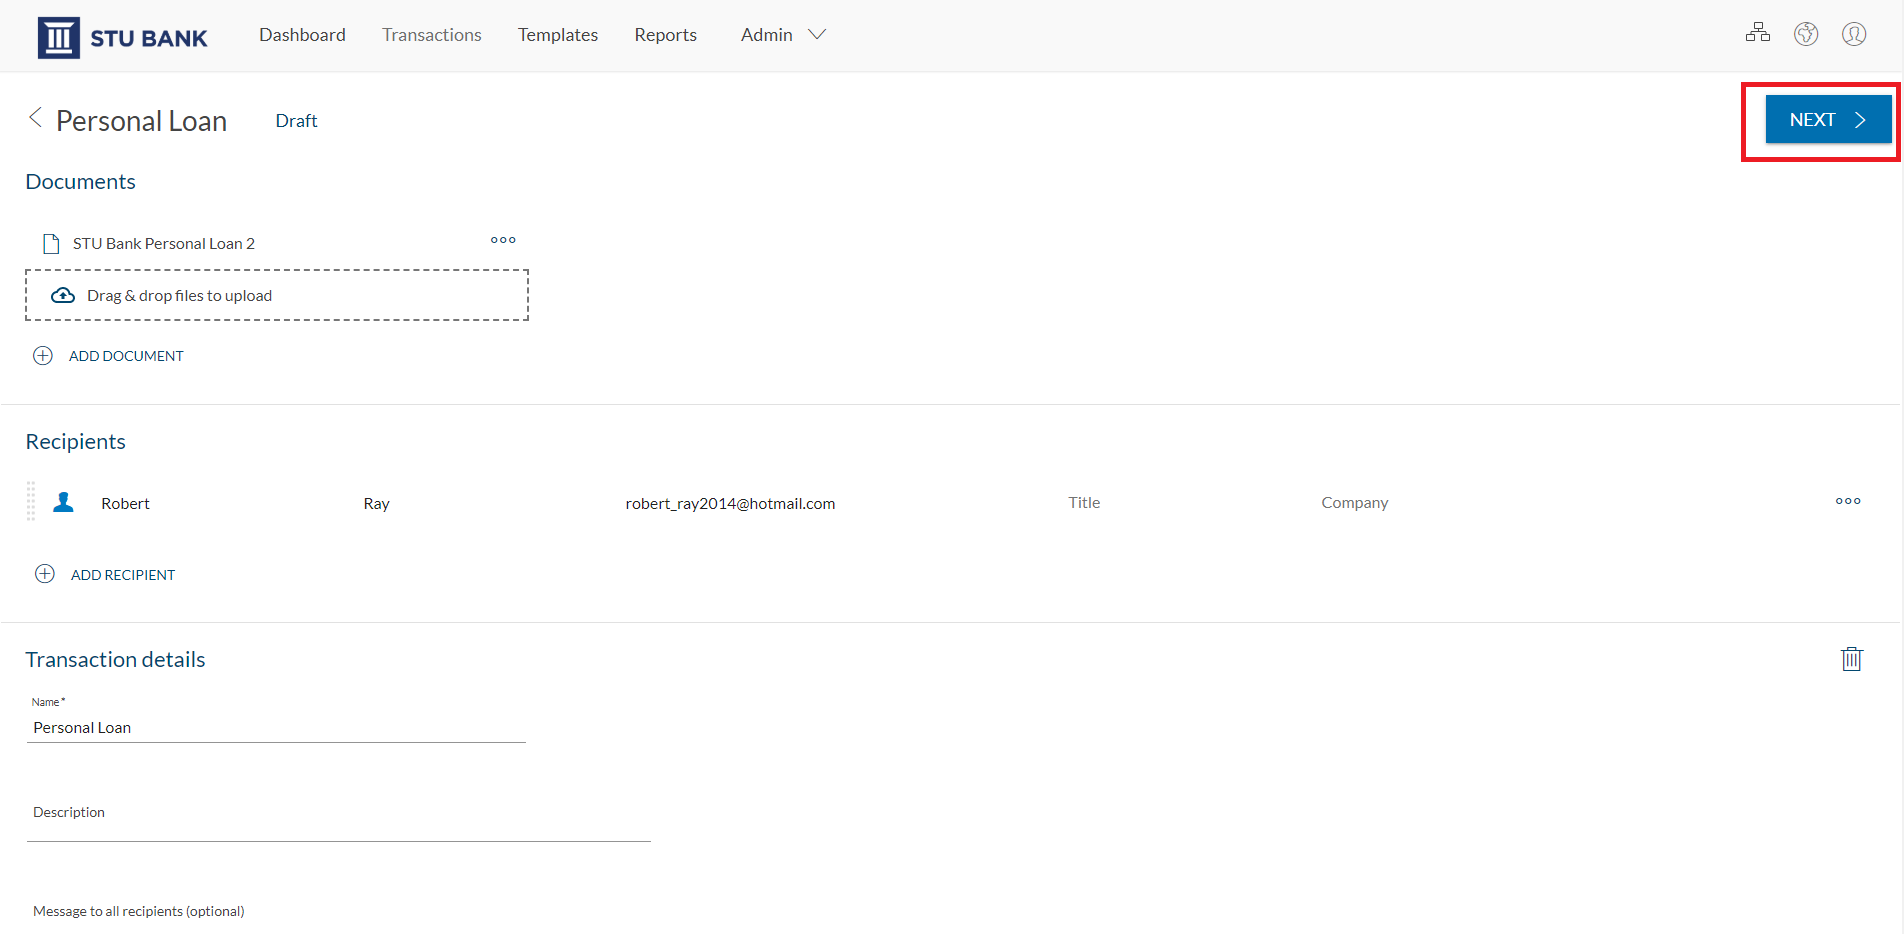
3) Add your documents and recipients who need to sign; Click the ‘Next’ button.
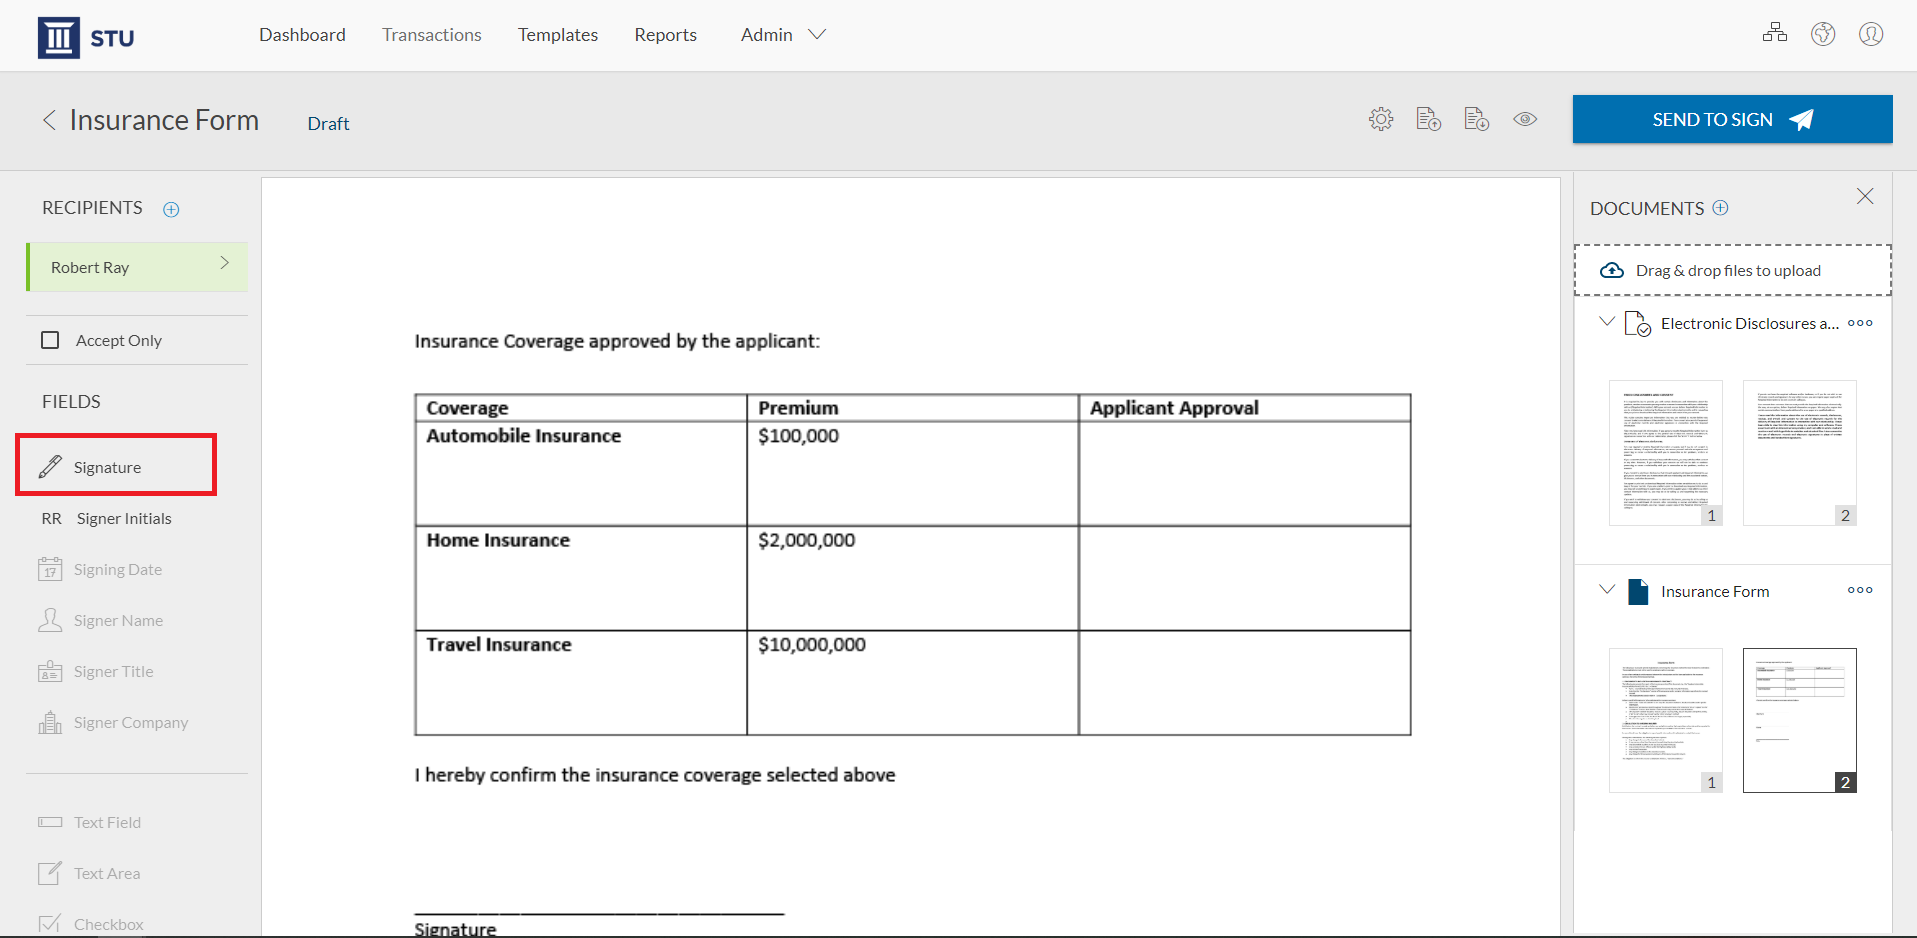
4) Add a signature block to a desired location on your document for your recipients to sign. Simply drag-and-drop a signature block from the left hand side into the document. Click the ‘Send to Sign’ button to route your document for signing.
FAQ Questions
Which document formats can I send for e-signature using OneSpan Sign?
OneSpan Sign supports the following document formats: .pdf, .doc, .docx and .odt. We also support any document that can be printed from a Windows application (e.g., .xls, .xlsx, .ppt, .pptx, etc.) via the OneSpan Sign Print Driver.
Is there a document size limit?
The maximum size for each document is 16MB.
What’s the difference between a document and a transaction?
A transaction is a container used to send one or more documents for signature to your recipients. Transactions can contain multiple documents and can be sent to several recipients. Documents can also have multiple pages.
Can I dictate which order my recipients can sign a document?
Yes! You can decide whether your recipients can sign in any order (parallel signing) or sign in a particular order (sequential signing). By default, OneSpan Sign lets recipients sign in any order. If you want your recipients to sign in a particular order, select the ‘Set signing order’ toggle and drag-and-drop the order you want your recipient to sign in.
We also offer a feature called Document Visibility, that allows you to control which recipients can view and sign specific documents in a transaction.
How can I automate the signing process for transactions that involve large volumes (i.e., hundreds) of recipients?
We offer an add-on feature called Bulk Send that allows you to upload a .csv file of recipients and send the transaction for signature to recipients on that list.
Fast Track is also add-on feature that enables you to distribute documents to large volumes of recipients for signing. Fast Track provides a dedicated URL that you can embed into your website or in an email. This allows you to automate the signing process for template-based transactions.
Contact your customer success representative to learn more about Bulk Send and Fast Track.
How will I know when the recipient has e-signed documents?
Once signing is complete, you will receive an email confirmation along with a .PDF of the signed document that you can download for your records. The final, signed document includes an embedded audit trail and separate Evidence Summary Report which details who signed, in what order, when and where.
If you’re a sender and you sign documents directly in your OneSpan Sign account, you can view the status of the transaction from the “Recent Transactions” menu.
Signer Authentication Methods
Step-by-step Instructions
Step-by-step Instructions
1) After adding your documents and recipients to a transaction, click the gear icon in the Recipients area of the page. A dialog box will appear. Click ‘Authentication’. Let’s take a look at the several authentication methods we have available in our e-signature solution to help you verify your signer’s identity.
2) Email Authentication:
Email authentication is the standard security option OneSpan Sign uses to verify your recipient’s identity. The identity of your intended signer is verified using their secure name and password when logging into their email account. The signer simply clicks the link to access the document they need to sign.
3) SMS Authentication:
SMS authentication allows you to verify your signer’s identity by a secure SMS passcode sent to their mobile phone number. The recipient must enter the SMS code to access the transaction and complete the signing process.
4) Q&A Authentication:
Q&A Authentication allows you to present challenge questions to your signer. These are commonly referred to as “shared secrets” since you need to formulate questions based on information you already have on file about your customer, such as the last 4 digits of their social security number or an application ID number. If the signer provides the correct answer, they are verified as the correct recipient of the transaction. This authentication method is ideal to use for transactions such as renewing an insurance claim or an electronic fund transfer.
FAQ Questions
Are all your authentication options included with my OneSpan Sign account?
Yes! Email, SMS and Q&A authentication are all included with your OneSpan Sign account at no additional cost.
What happens if my signers fail to authenticate themselves?
This could either mean that you sent a transaction to the incorrect signer or entered the incorrect mobile phone number (if using SMS authentication). If the transaction was sent to the intended signer, simply resend your transaction and give your signer another chance to pass the validation step.If using SMS authentication, your recipients can request a new SMS passcode on demand by clicking the “Don’t have an SMS passcode? Click here” dialog. Be default, we allow 3 attempts for the signer to authenticate themselves properly. You can contact us to change the number of signer authentication attempts for your account.
Do you offer 2-factor authentication options?
Yes, two-factor authentication can be achieved by combining different authentication factors:
- Something the user knows (e.g., password);
- Something the user has (e.g., hardware or software token, smartcard);
- Something the user is (e.g., biometrics such as fingerprint or facial recognition).
For example, email authentication, combined with SMS passcode, provides a reliable two-factor authentication process.
OneSpan Sign also supports signing with local-signing digital certificates, DIGIPASS authenticators and DIGIPASS for Apps to achieve strong two-factor authentication using smartcards, hardware and software tokens, biometrics (e.g., fingerprint and “selfie” authentication), one-time passwords (OTP) and visual cryptograms. Contact us to learn more about these additional authentication options.
Do you offer authentication options through third-party ID verification services?
Yes! In addition to the standard authentication options above, we offer Dynamic Knowledge-based Authentication (KBA) through our partnership with Equifax. Dynamics KBA harvests public records, credit reports and other sources to ask out-of-wallet questions on the fly. Learn more about this add-on option for the OneSpan Sign Professional Plan.
To initiate the process, basic identification factors (name, address, date of birth) must be provided by the consumer and are checked against a 3rd party identity verification service such as Equifax.
After their identity is verified, relevant questions are generated in real-time, making it difficult for anyone other than the actual user to answer correctly. Dynamic KBA is ideal for high value transactions such as lending forms, lines of credit and mortgage applications. Dynamic KBA is a fee-based service add-on for OneSpan Sign. To activate Dynamic KBA to your account, please contact us.
Optional Signatures
Step-by-step Instructions
Step-by-step Instructions
1) Click the ‘New Transaction’ button in the top right hand corner.
2) Enter a title for your transaction. Click the ‘Create’ button.
3) Add your document and recipient to your transactions. Click the ‘Next’ button.
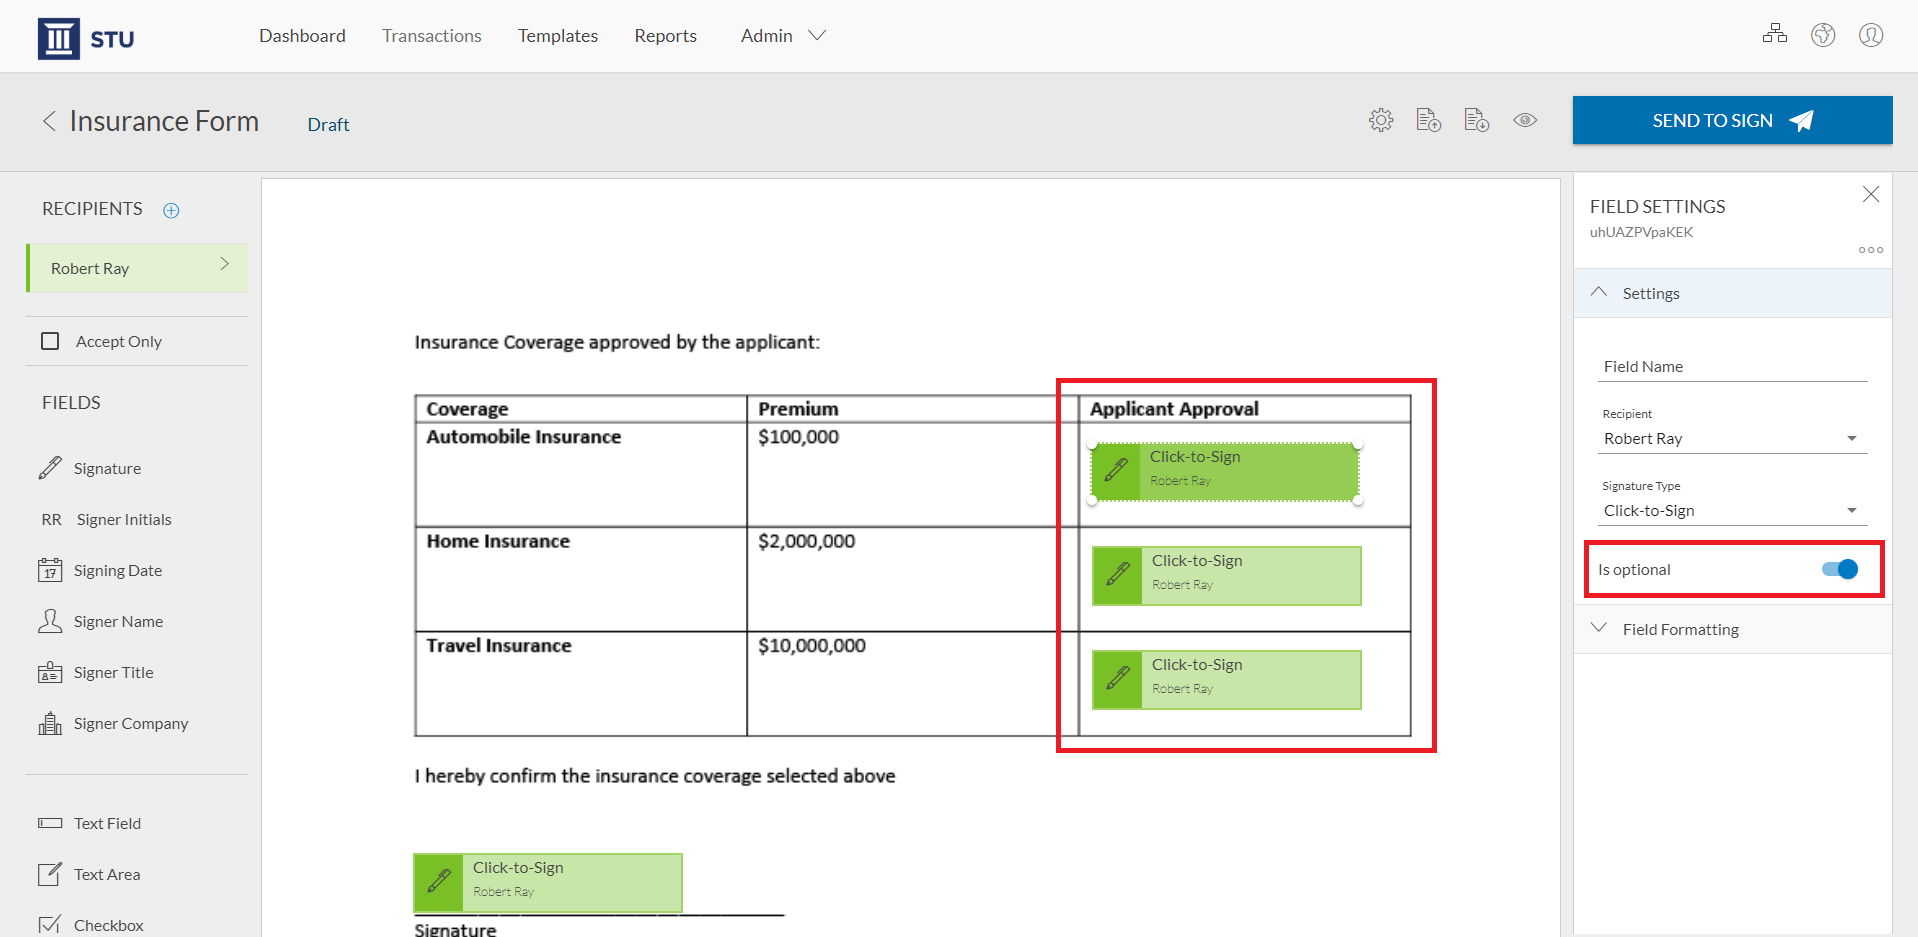
4) Now it’s time to add the signature blocks to your document for your recipients to sign. Simply drag-and-drop the signature blocks from the left hand side into the document. In this example, we’re sending an insurance form that requires the signer to accept or decline coverage details of the insurance policy.
For these sections, we’ll add Optional Signatures to the form. Simply click the signature block and then toggle the ‘Is optional’ feature on.
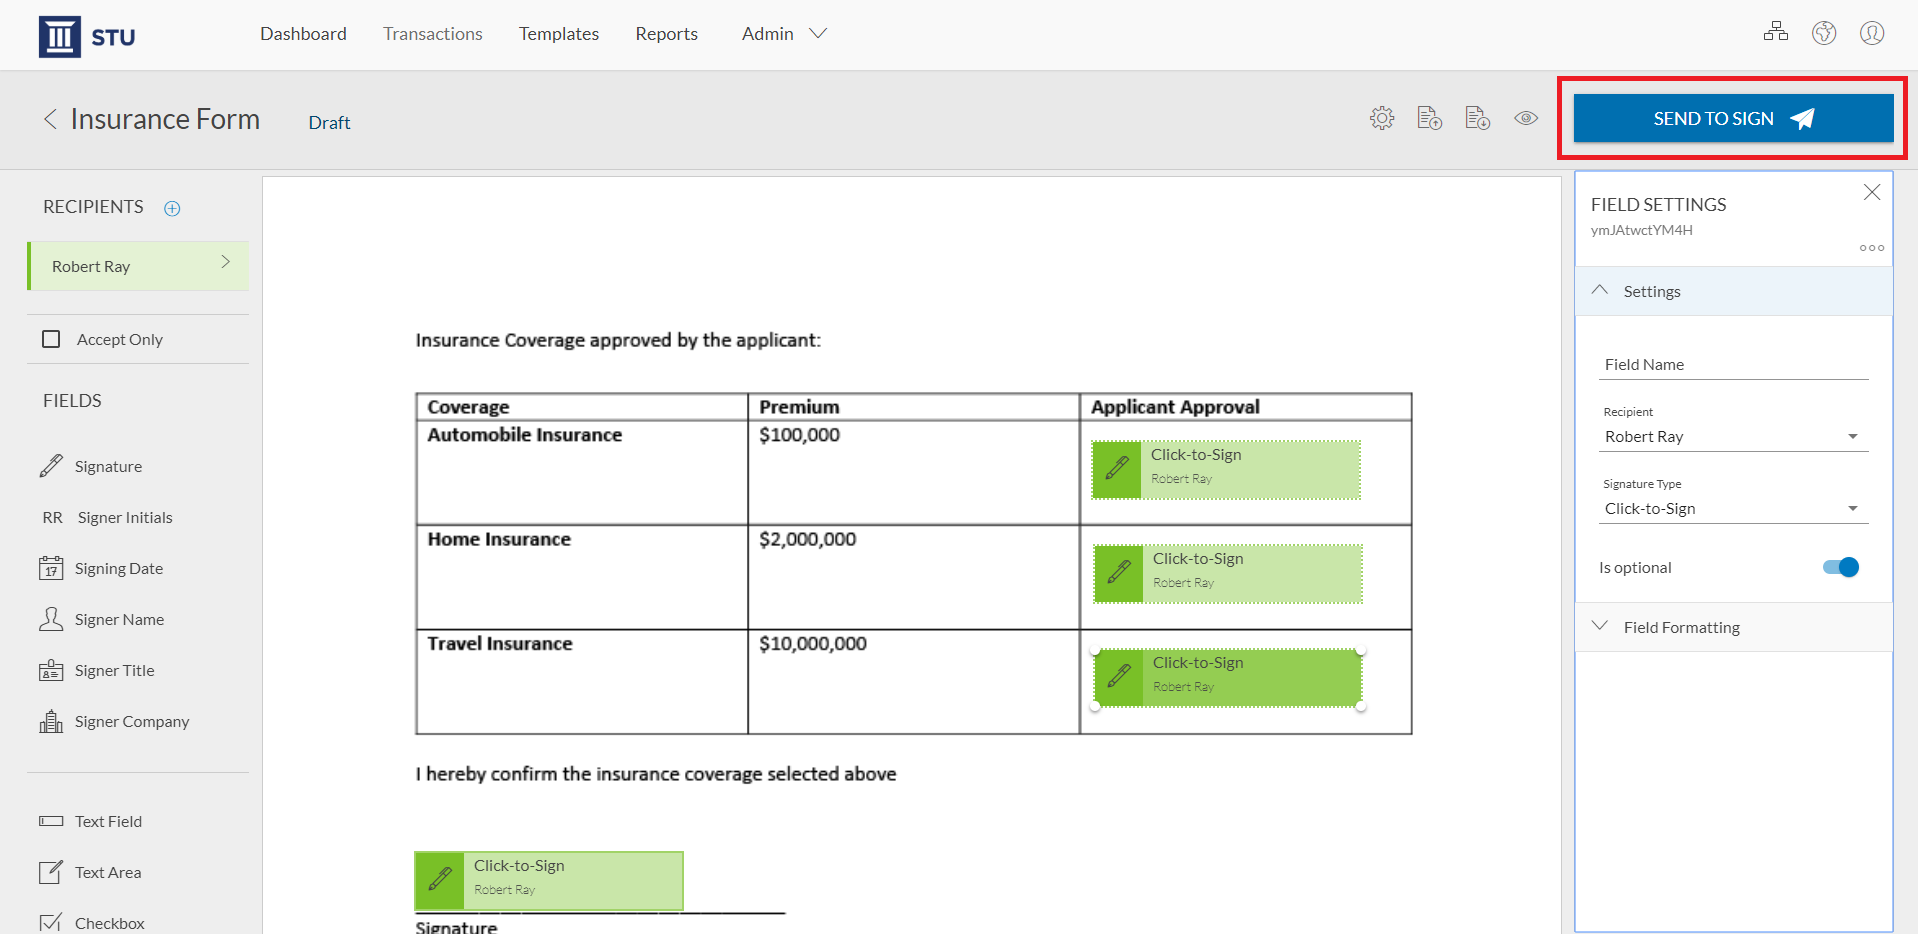
5) Once you’re done adding signature blocks to the document and you’re ready to send it to your signer, simply click the ‘Send to Sign’ button to route your document for signing.
6) After accessing the document to sign, your signer can complete the transaction by signing the sections of the document that are applicable to them. The signer can confirm that they are done signing the document.
FAQ Questions
Is the Optional Signatures feature included with my OneSpan Sign account?
Yes! The Optional Signatures feature is available with all OneSpan Sign plans at no extra charge. Contact our support team if the feature is not enabled in your account.
Will Optional Signatures display in the Evidence Summary?
Yes, Optional Signatures will display in the Evidence Summary. The number of required and optional signature fields in the document are shown in the Evidence Summary. In addition, the audit trail details show the signature fields the signer clicked.
Email Reminders and Expirations
How to Set Email Reminders
Step-by-step Instructions
1) Click the ‘New Transaction’ button in the top right hand corner.
2) Enter a title for your transaction. Click the ‘Create’ button.
3) Add your document and recipients to your transactions.
4) Scroll to the bottom and click ‘Settings’. Next to the ‘Email Reminders’ option, click the ‘Configure’ button.
5) A dialog box will appear to customize a reminder schedule to your signers.
6) Click the toggle at the top to enable reminders to be sent to your signers. You can now set a reminder schedule.
The following options are found in our built-in-reminders feature:
• Send reminder in (days): Specifies when the first reminder will be sent — i.e., the number of days after the initial email invitation is sent.
• Repeat Reminder: Select this option to send multiple reminders.
• Number of days: Specify the number of days between successive reminders.
• Total Reminders: Specify the total number of reminders to be sent.
In this example, our signer will receive a reminder in 5 days. After the 5 days, our signer will receive 4 reminders every 2 days.
Click ‘OK’
How to Set Expirations
Step-by-step Instructions
1) Click the ‘New Transaction’ button in the top right hand corner.
2) Enter a title for your transaction. Click ‘Settings’. Click the ‘Expiry Date’ field. Select the desired expiration date from the calendar.

3) After adding your document and recipients to the transaction, scroll to the bottom and click ‘Settings’. Click the ‘Expiry Date’ field. Select the desired expiration date from the calendar.
FAQ Questions
Are the Email Reminders and Expirations features included with my OneSpan Sign account?
Yes, both of these features are included in your account.
Can I leverage Reminders programmatically via the OneSpan Sign API/SDKs?
Absolutely. Sample code is available in the OneSpan Sign’s Integrator’s Guide.
Conditional Fields
Step-by-step Instructions
Step-by-step Instructions
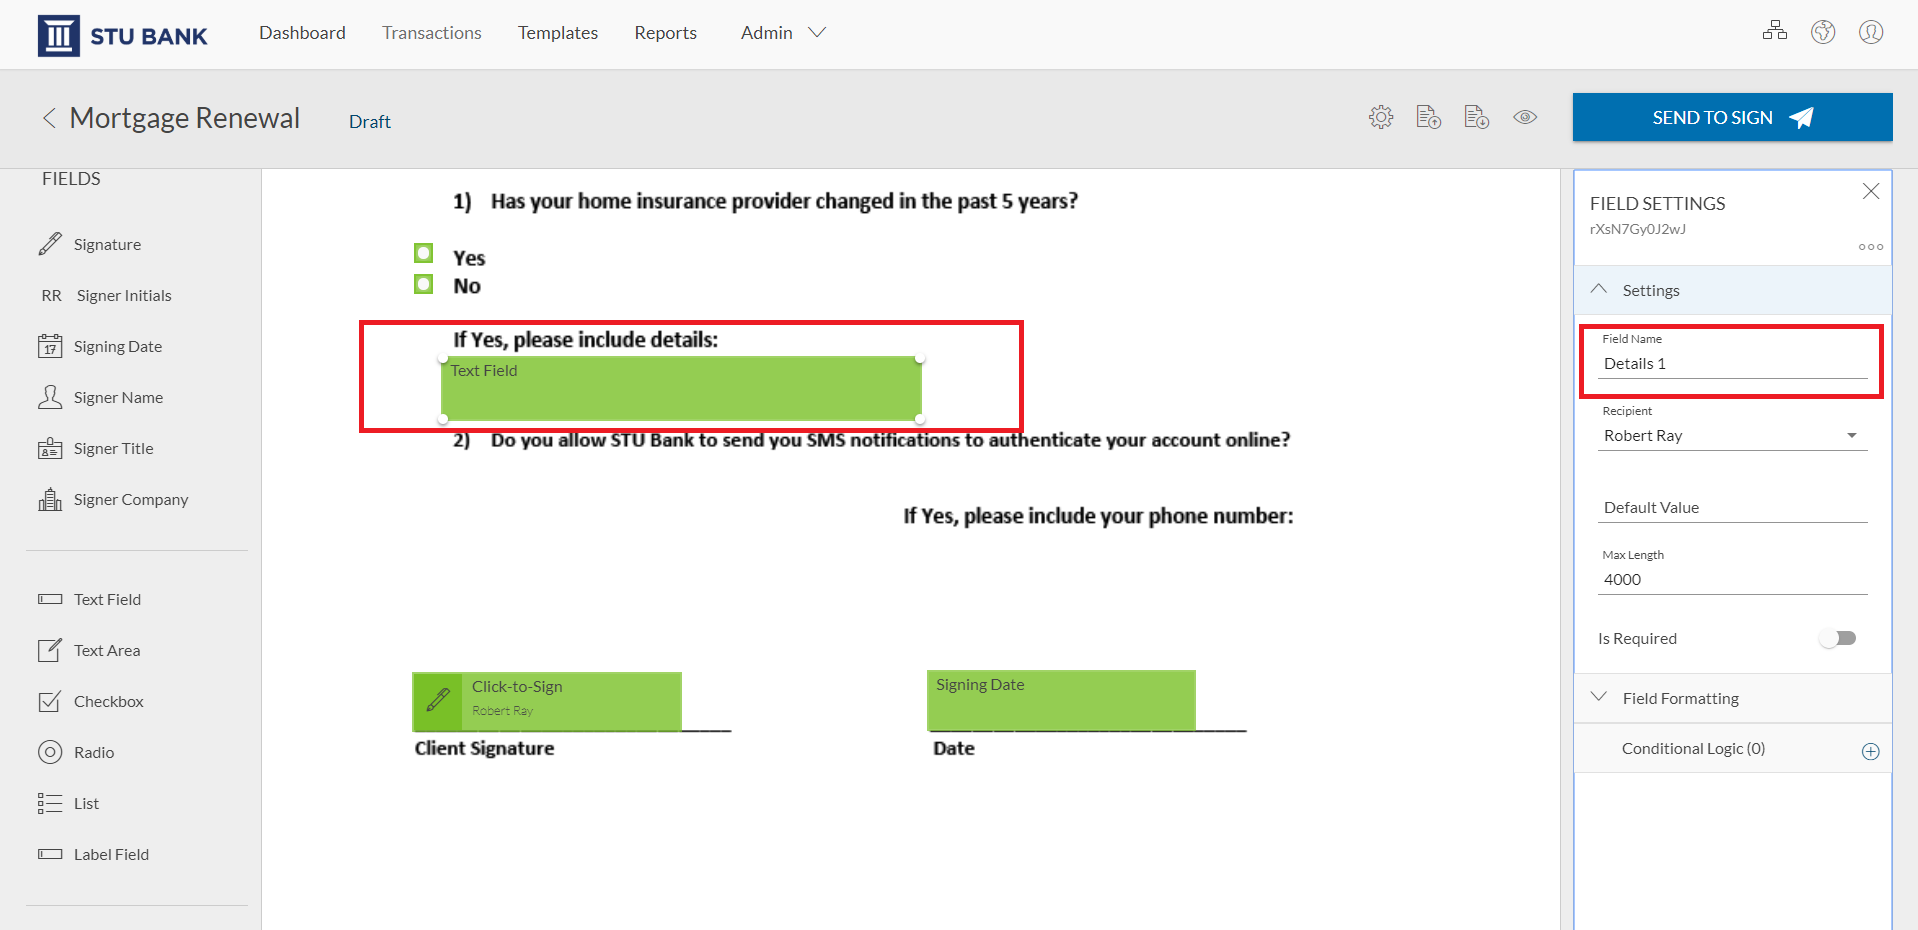
In this example, we’ll send a Mortgage Renewal document that includes fields that will be enabled depending on the signer’s entry in the trigger field that matches the configured conditional logic.
Let’s take a closer look at how to use Conditional Fields in this scenario.
To get started, select ‘New Transaction’ and enter a name for your transaction.
Click the ‘Create’ button to proceed.
Now it’s time to add a document to your transaction. Click the ‘Add’ button to upload a document from your files.
Next, add your recipient to the transaction.
Click ‘Next’ to prepare your document for signature.

Conditional logic can be used for signature fields, signer initials fields, text fields, text areas, checkboxes, radio buttons, lists, and label fields.
In this example, we’ll use conditional logic to trigger a text field to be enabled when the signer selects a specific radio button.
We’ll designate a Field name for the text field – we’ll call it ‘Details 1’
Now let’s designate a Field name for the radio button – we’ll call it ‘Yes 1’
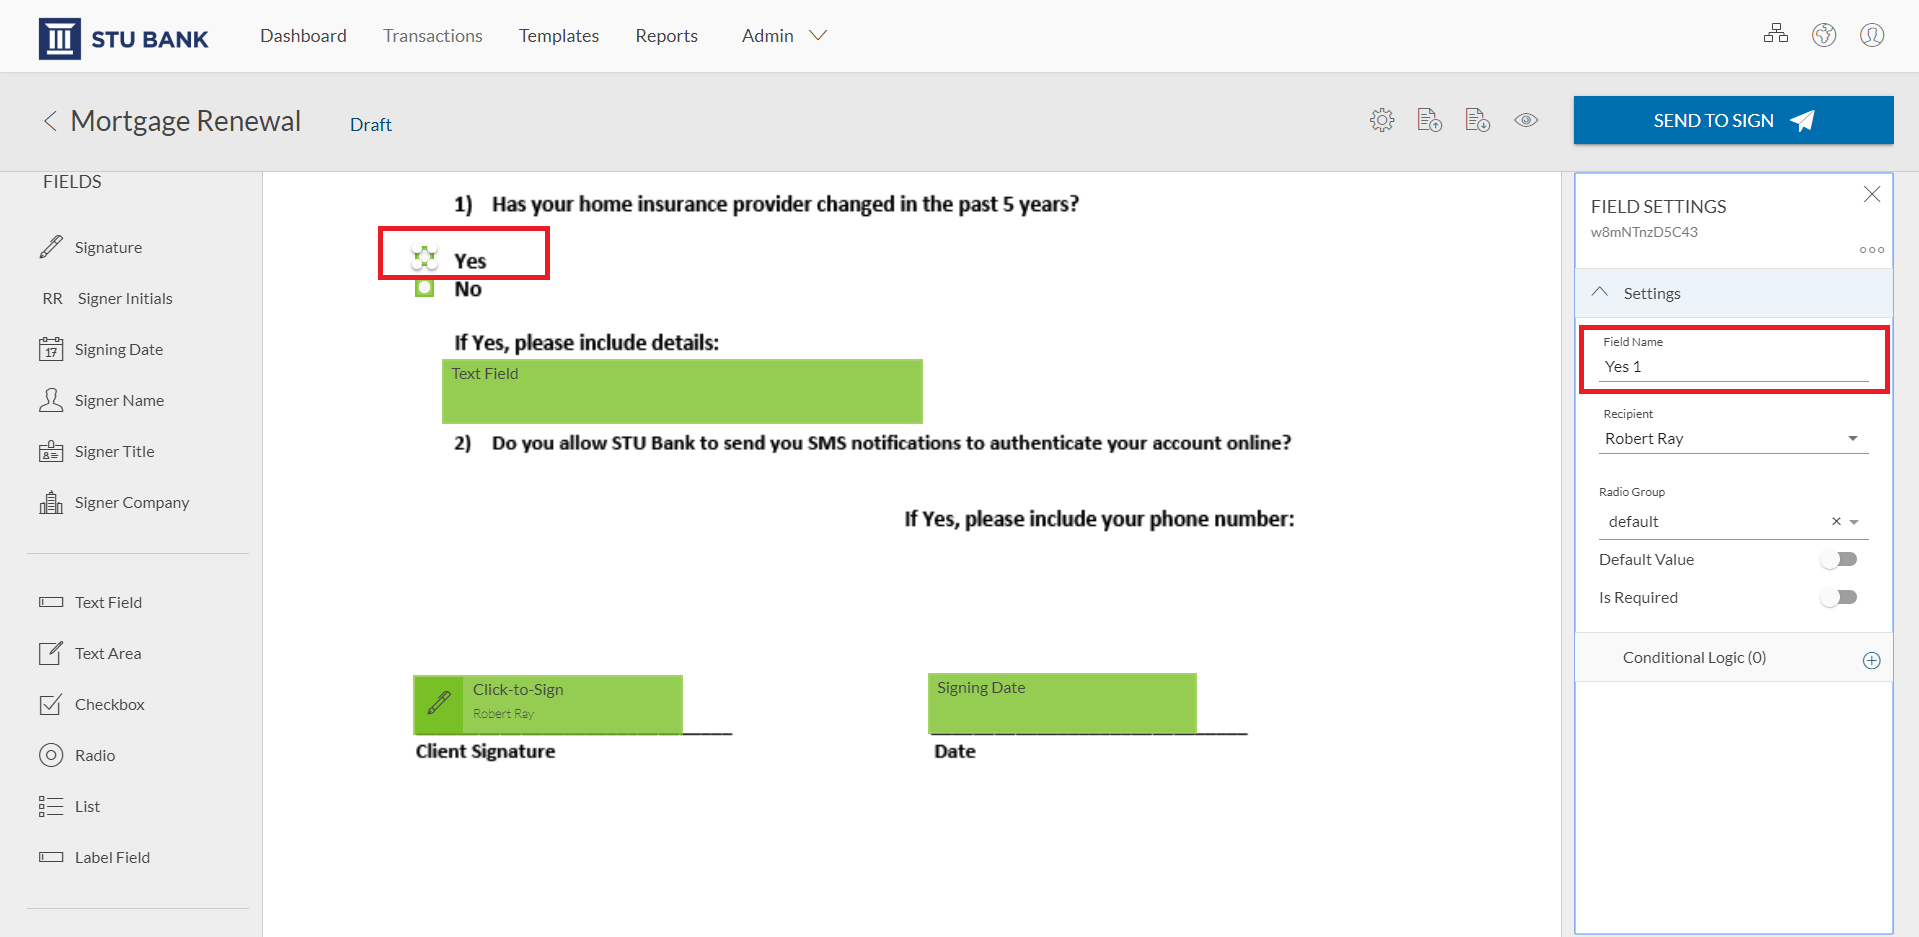
After designating the field names, now it’s time to add conditional logic to the fields.
In this example, if the signer selects the ‘Yes 1’ radio button option, the text field will be enabled in the document.
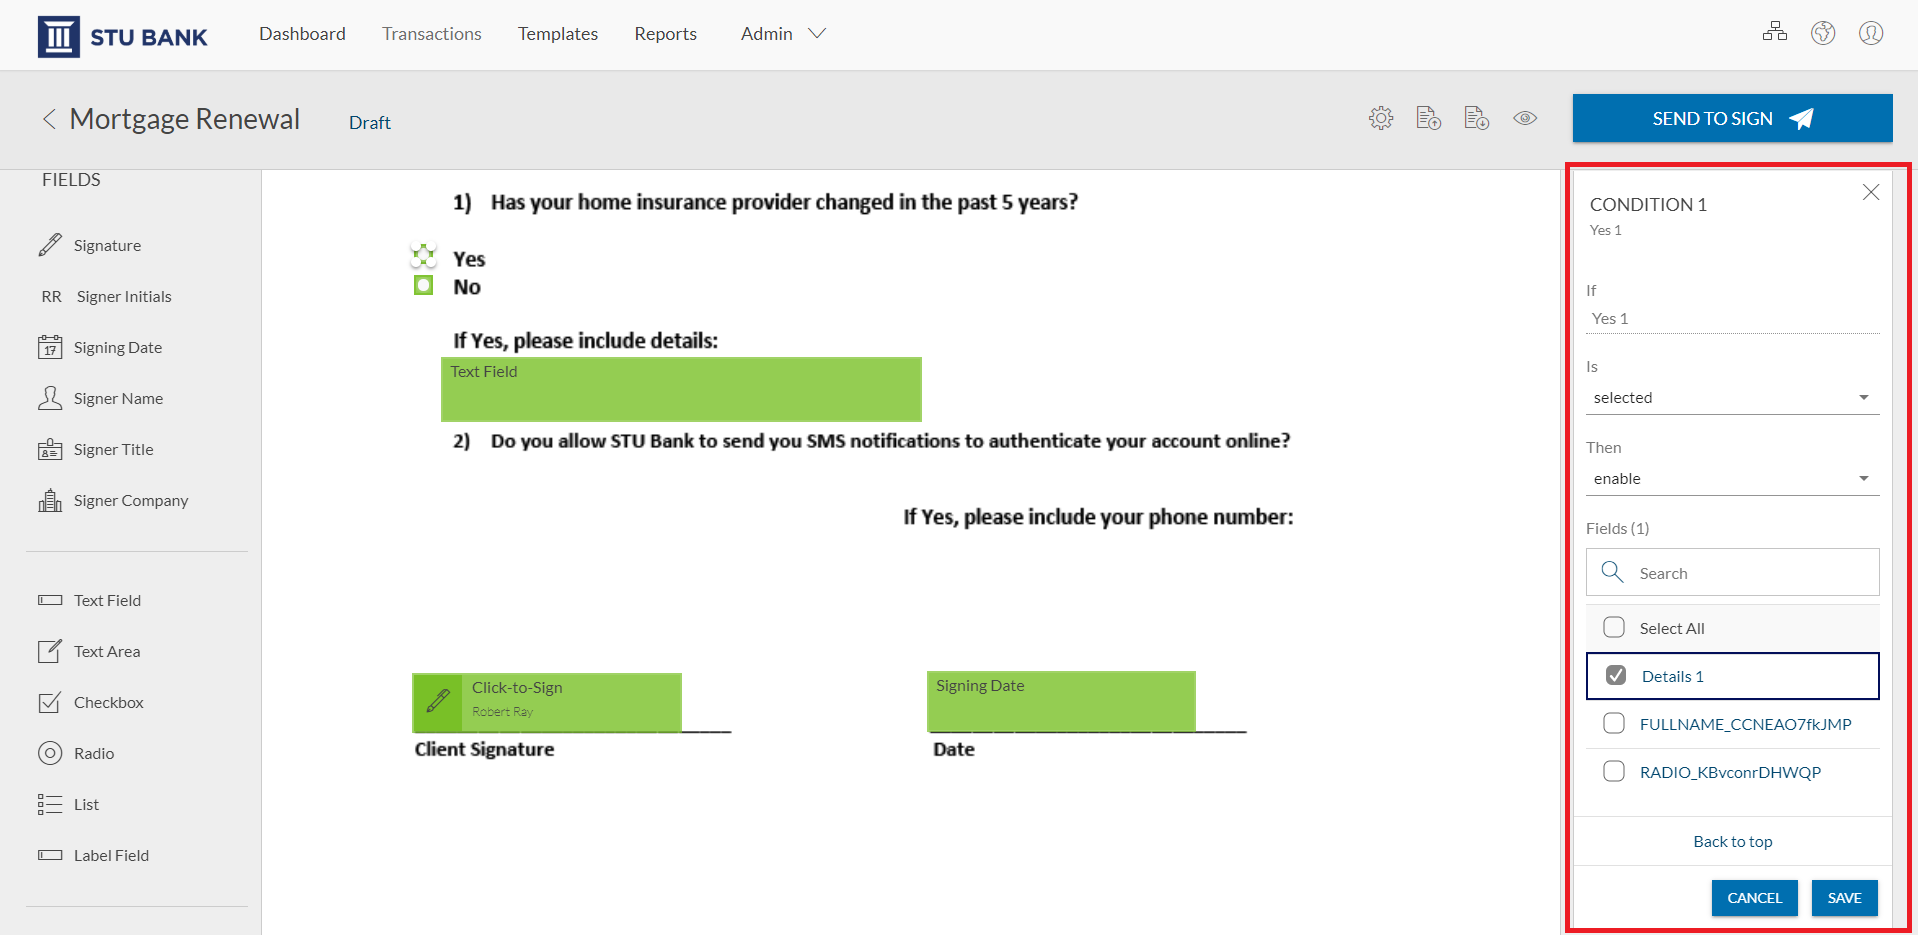
Let’s save our settings.
Additionally, we’ll configure conditional logic with a list and a text box. Depending on which option the signer chooses from the list, the text box will either appear as a required field or an optional field.
We’ll designate names for the list options.
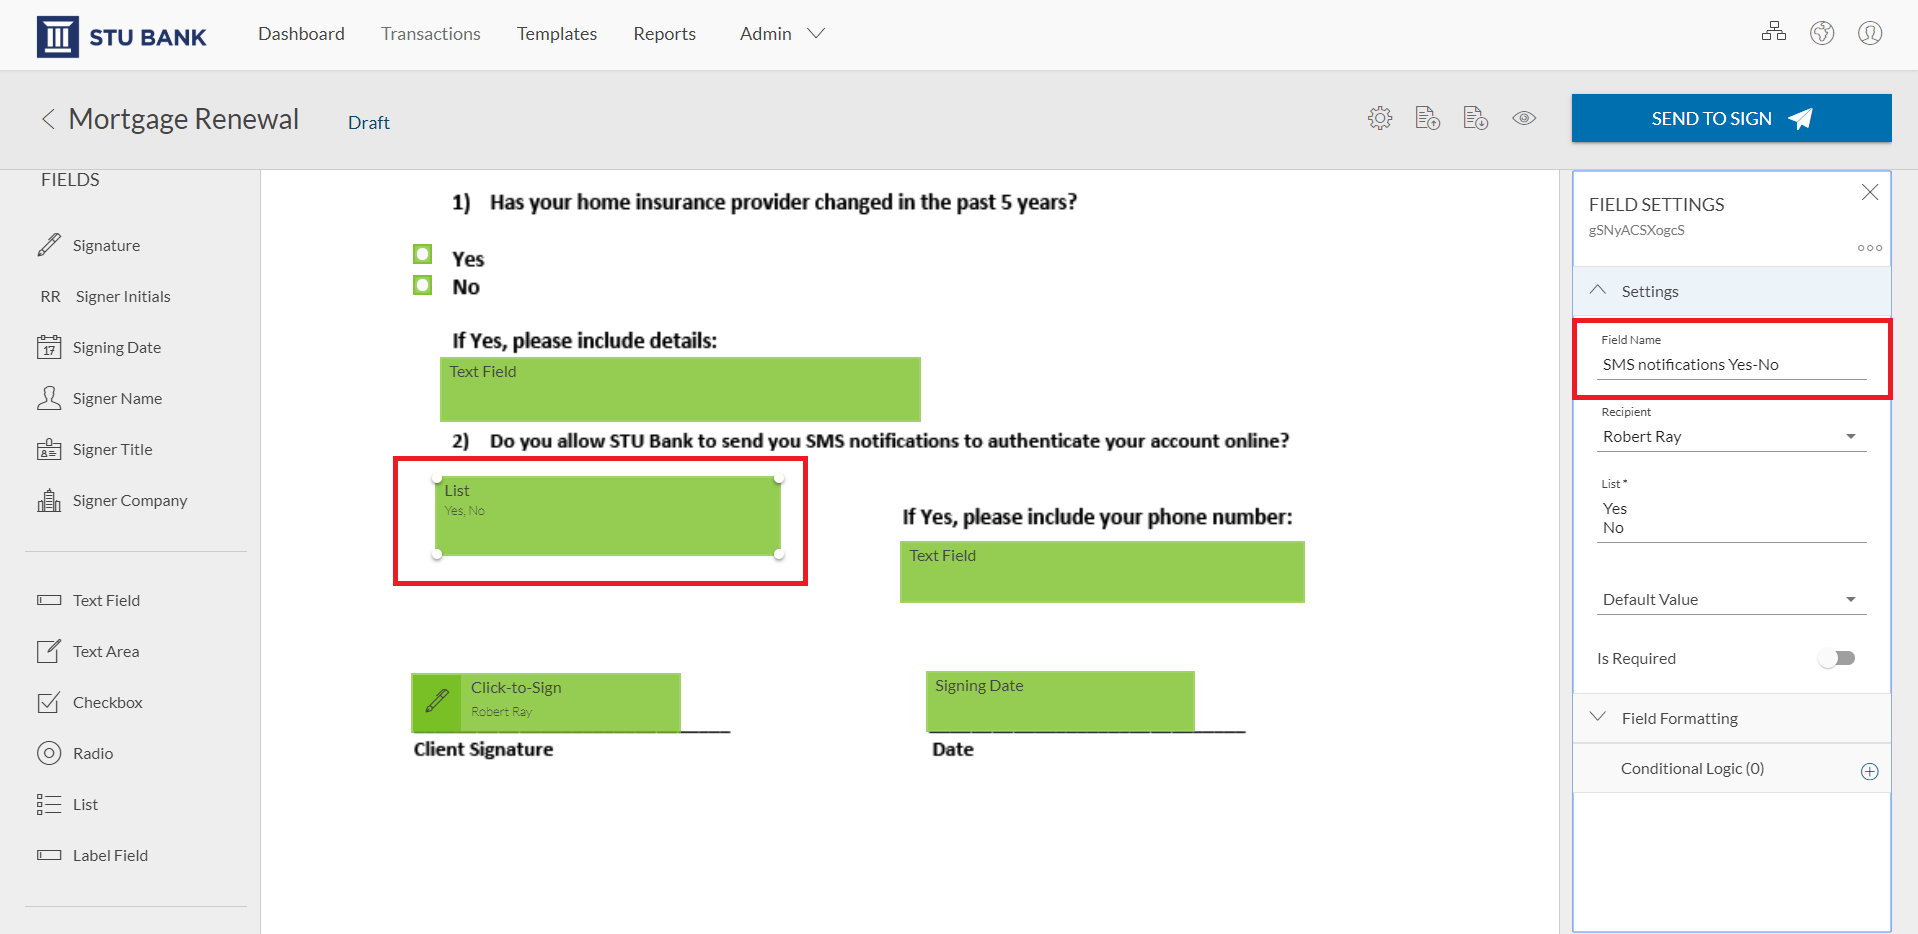
Now let’s designate a Field name for the text field – we’ll call it ‘Phone Number’
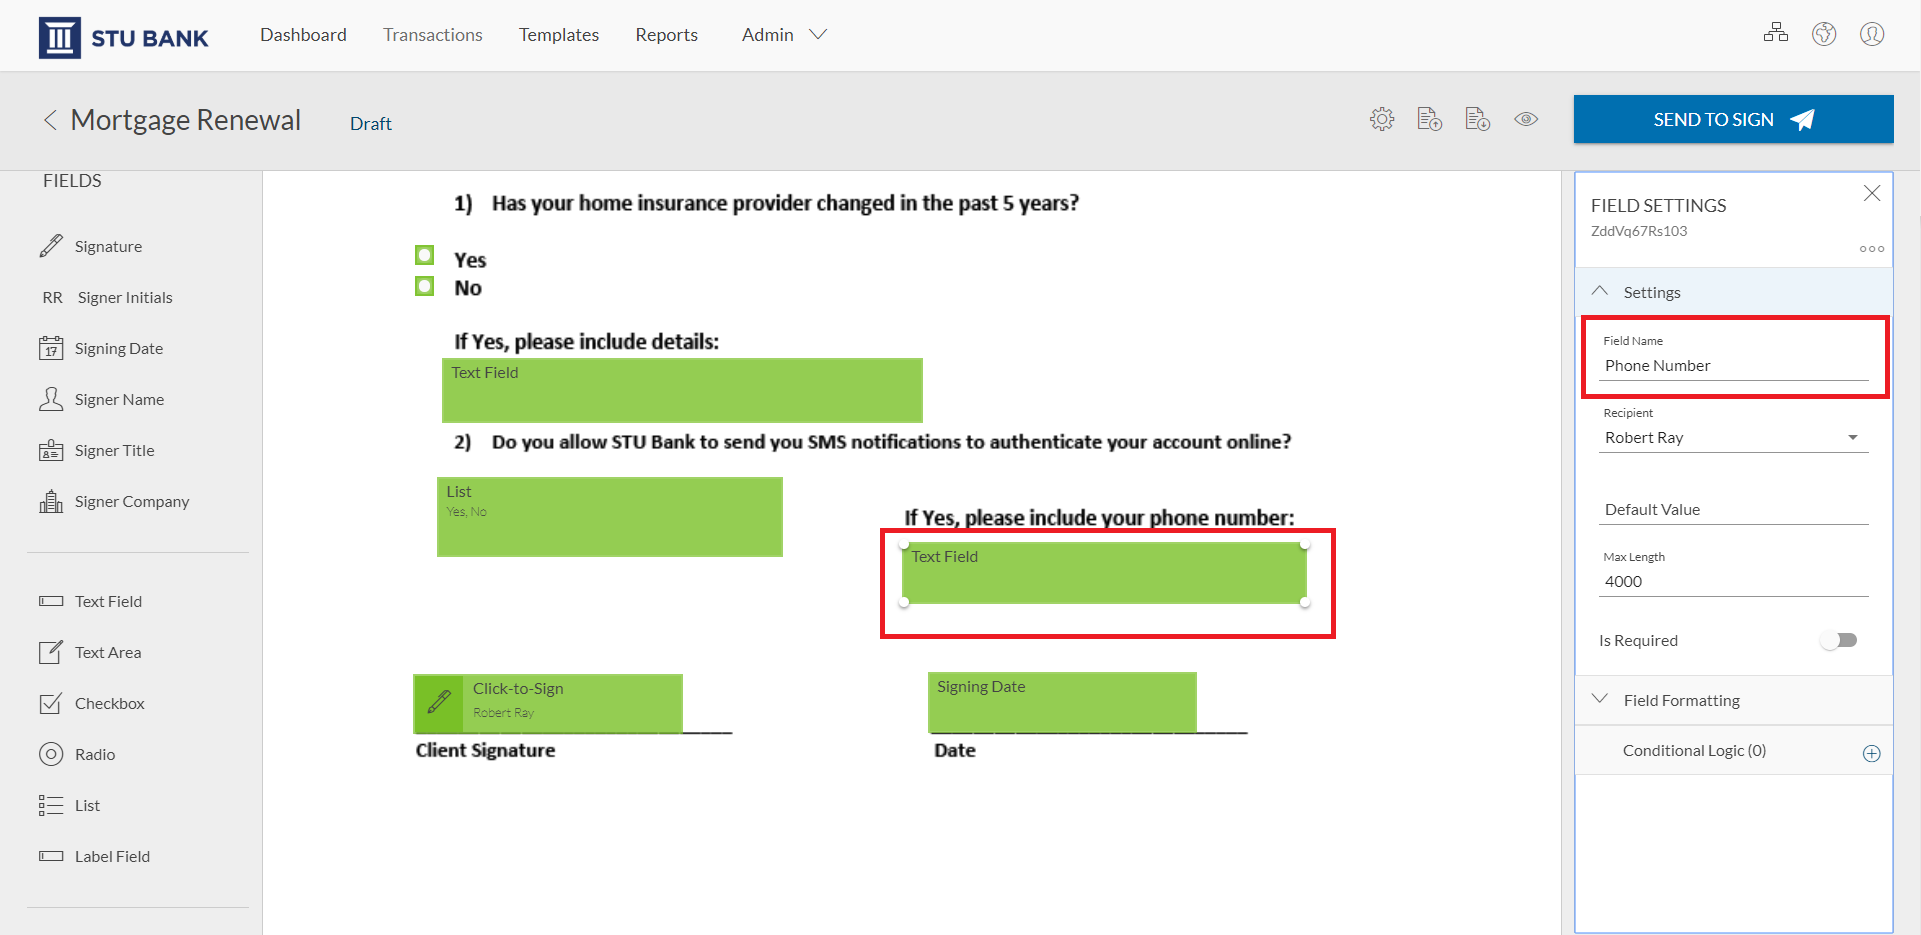
In this example, if the signer selects ‘Yes” from the list, a text field will be enabled in the document as a required field for the signer to add their phone number details. If the signer selects ‘No’, the text field will be enabled as an optional field.
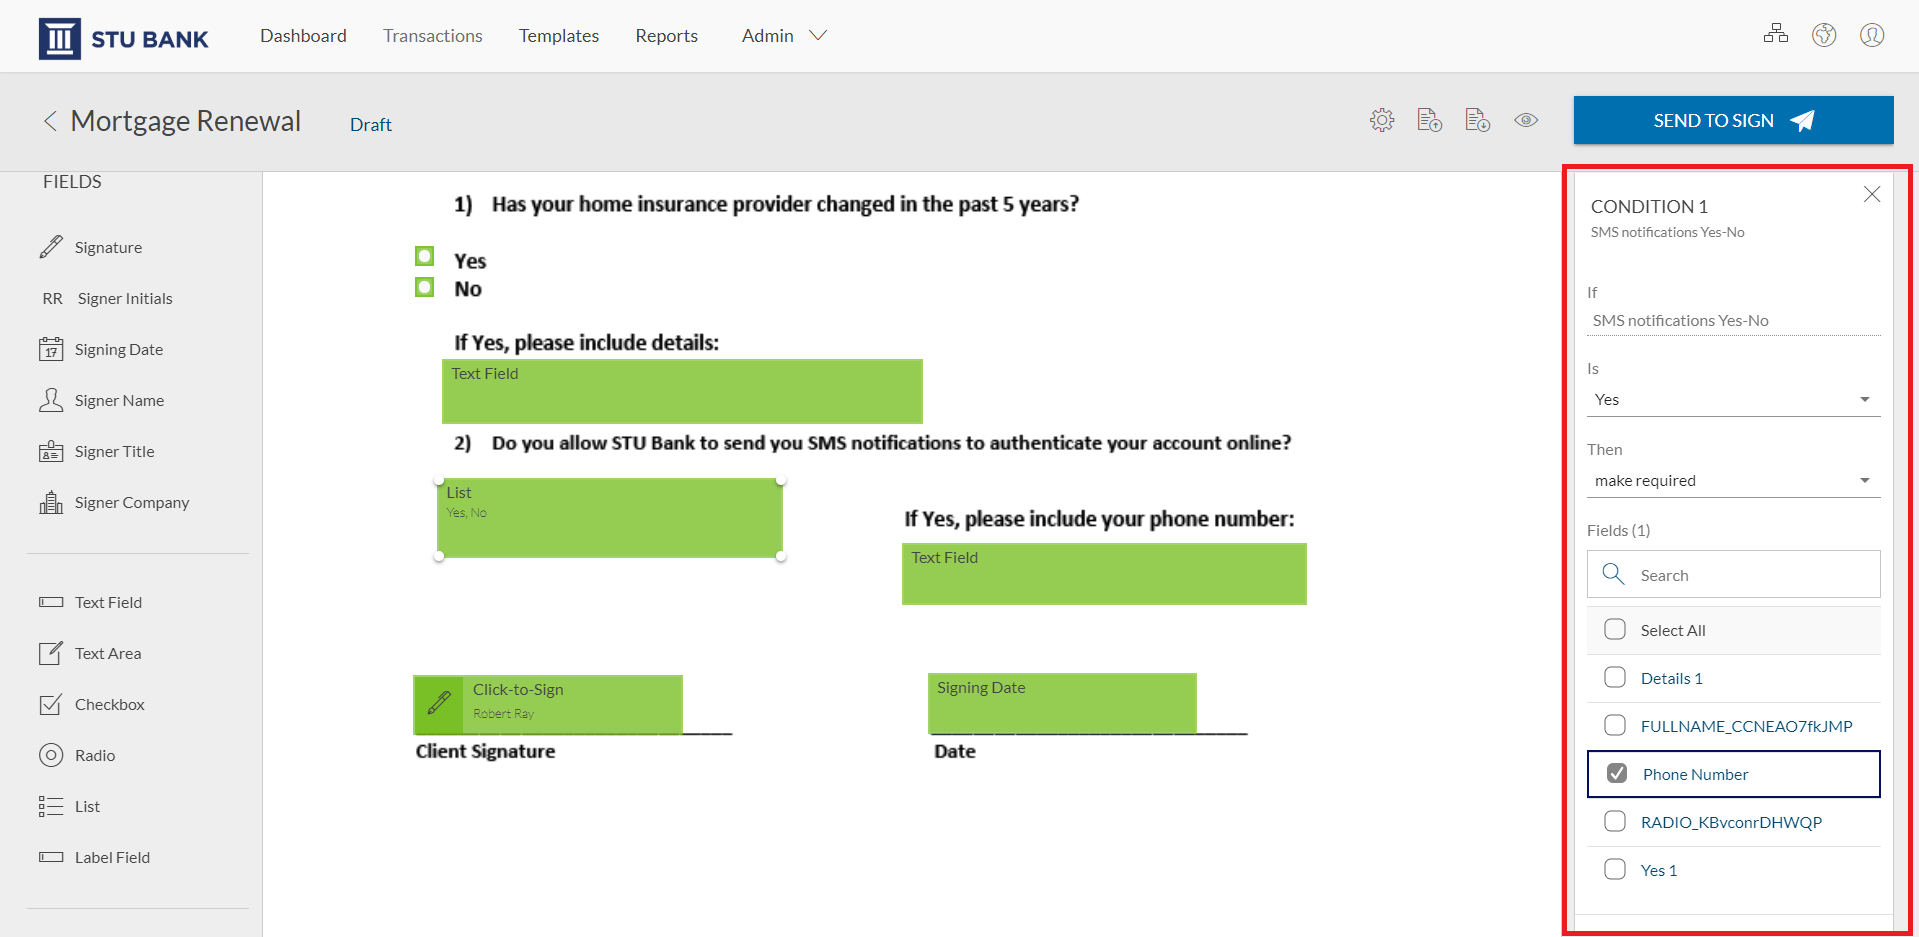
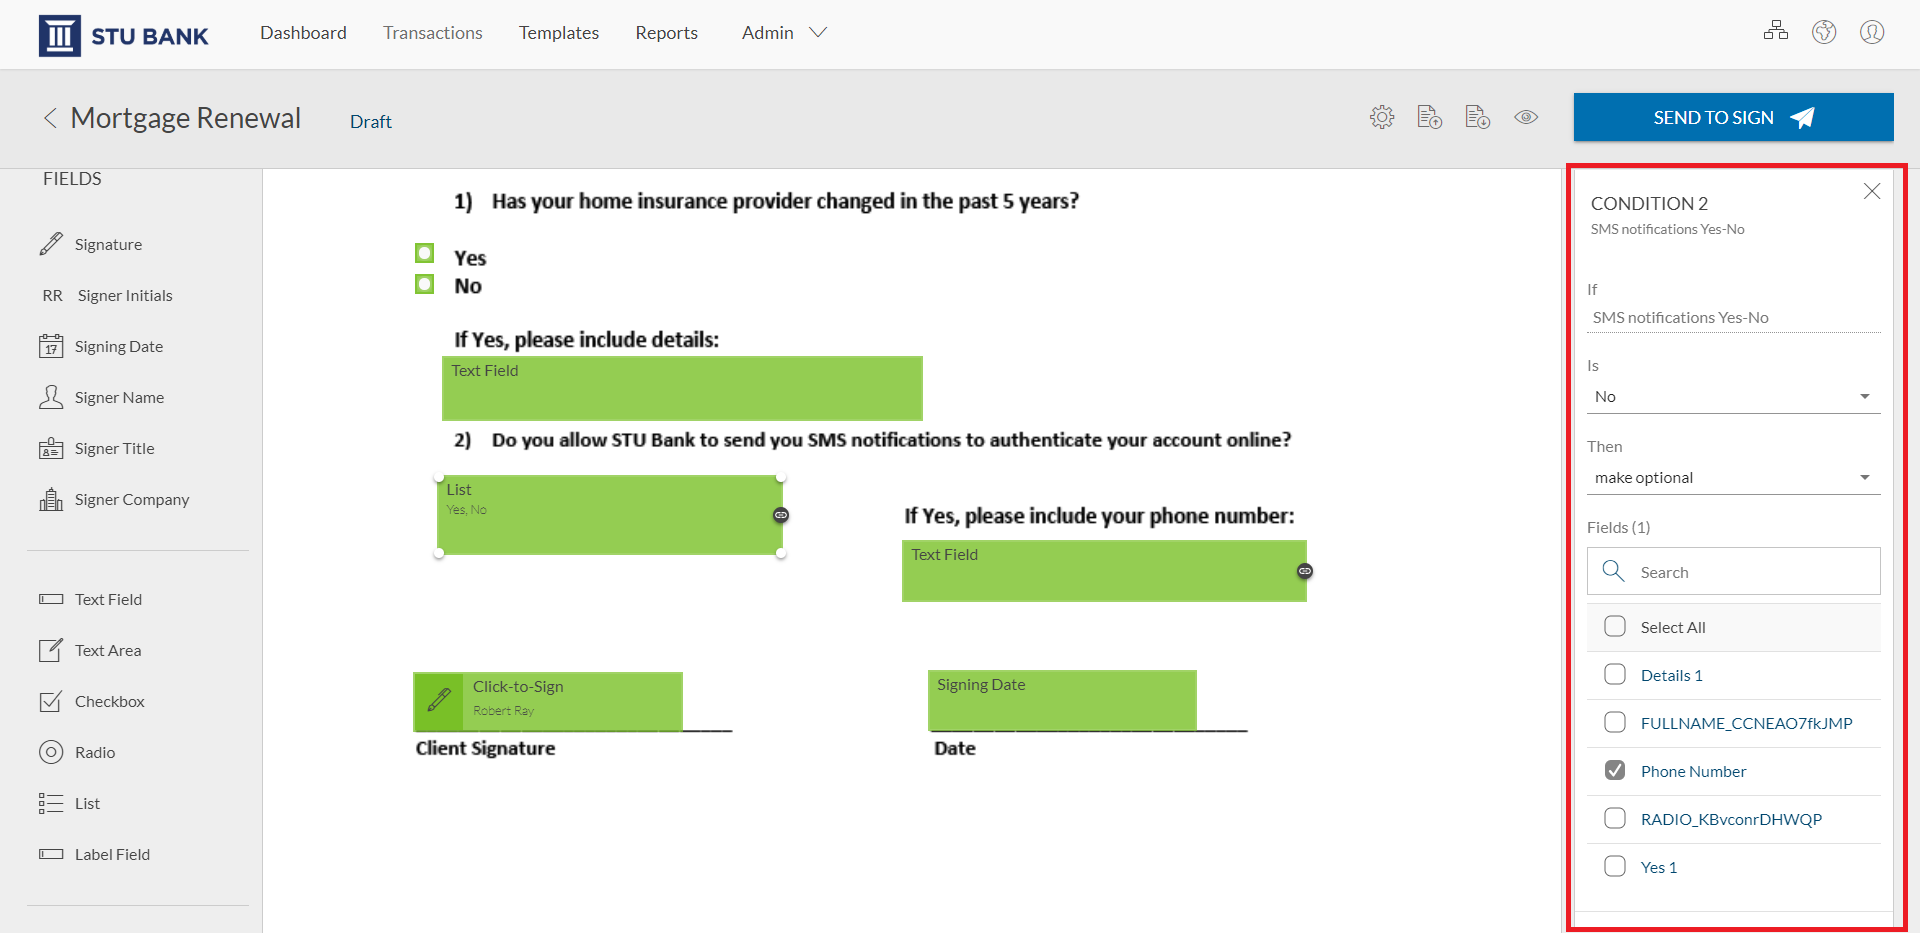
Let’s save our settings.
The transaction is ready to send. We’ll click ‘Send to Sign’ to distribute the document for signing.
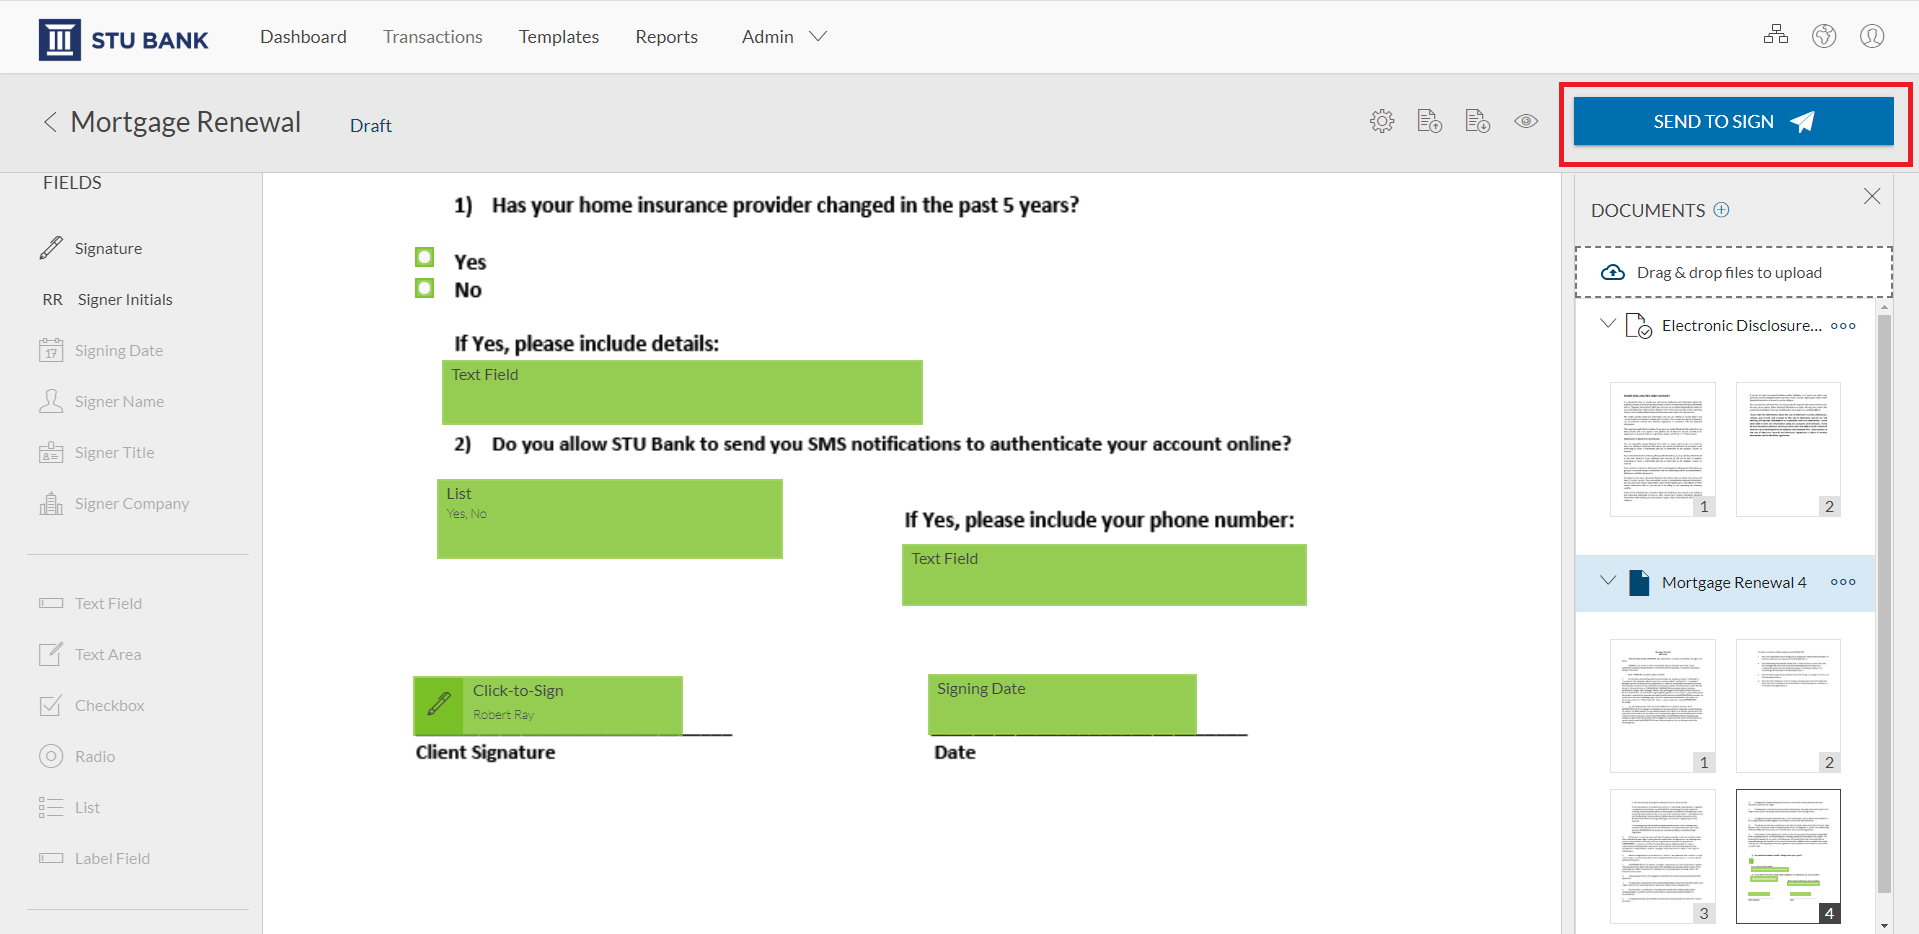
In the first question, if the signer selects the ‘Yes’ radio button, the text field will automatically be enabled to include additional details.
In the second question, if the signer selects ‘Yes’ from the list, the text field will be enabled as a required field so he can add his phone number.
FAQ Questions
Is Conditional Fields included with my OneSpan Sign account?
Yes! Conditional Fields is available with all OneSpan Sign plans at no extra charge. Simply contact our support team to enable this feature.
Can I access Conditional Fields using the Classic Signer Experience?
Conditional Fields is available in our New Signer Experience. Contact your customer success representative or our support team to enable the New Signer Experience in your account.
Can I use Conditional Fields for all signature field types available in OneSpan Sign?
- Conditional Fields can be used for signature fields, signer initials fields, text fields, text areas, checkboxes, radio buttons, and lists.
- Conditional Fields cannot be applied to Custom Fields, Notary Fields, Auto-populated Fields i.e.: Name, Title, Date) or Labels
- Conditional logic cannot be applied across documents or across signers
Additional Resources
Capture Signature (Signature Option)
Step-by-step Instructions
Step-by-step Instructions
How Senders Can Enforce Capture Signature in Documents
Start by creating a transaction using the ”New Transaction” button in the top right-hand corner.
Next, enter a name for your transaction.
Click the ”Create” button to proceed.
Now it’s time to add a document and a recipient to your transaction.
After adding your document and recipient to the transaction, click “Next” to prepare your document for signature.
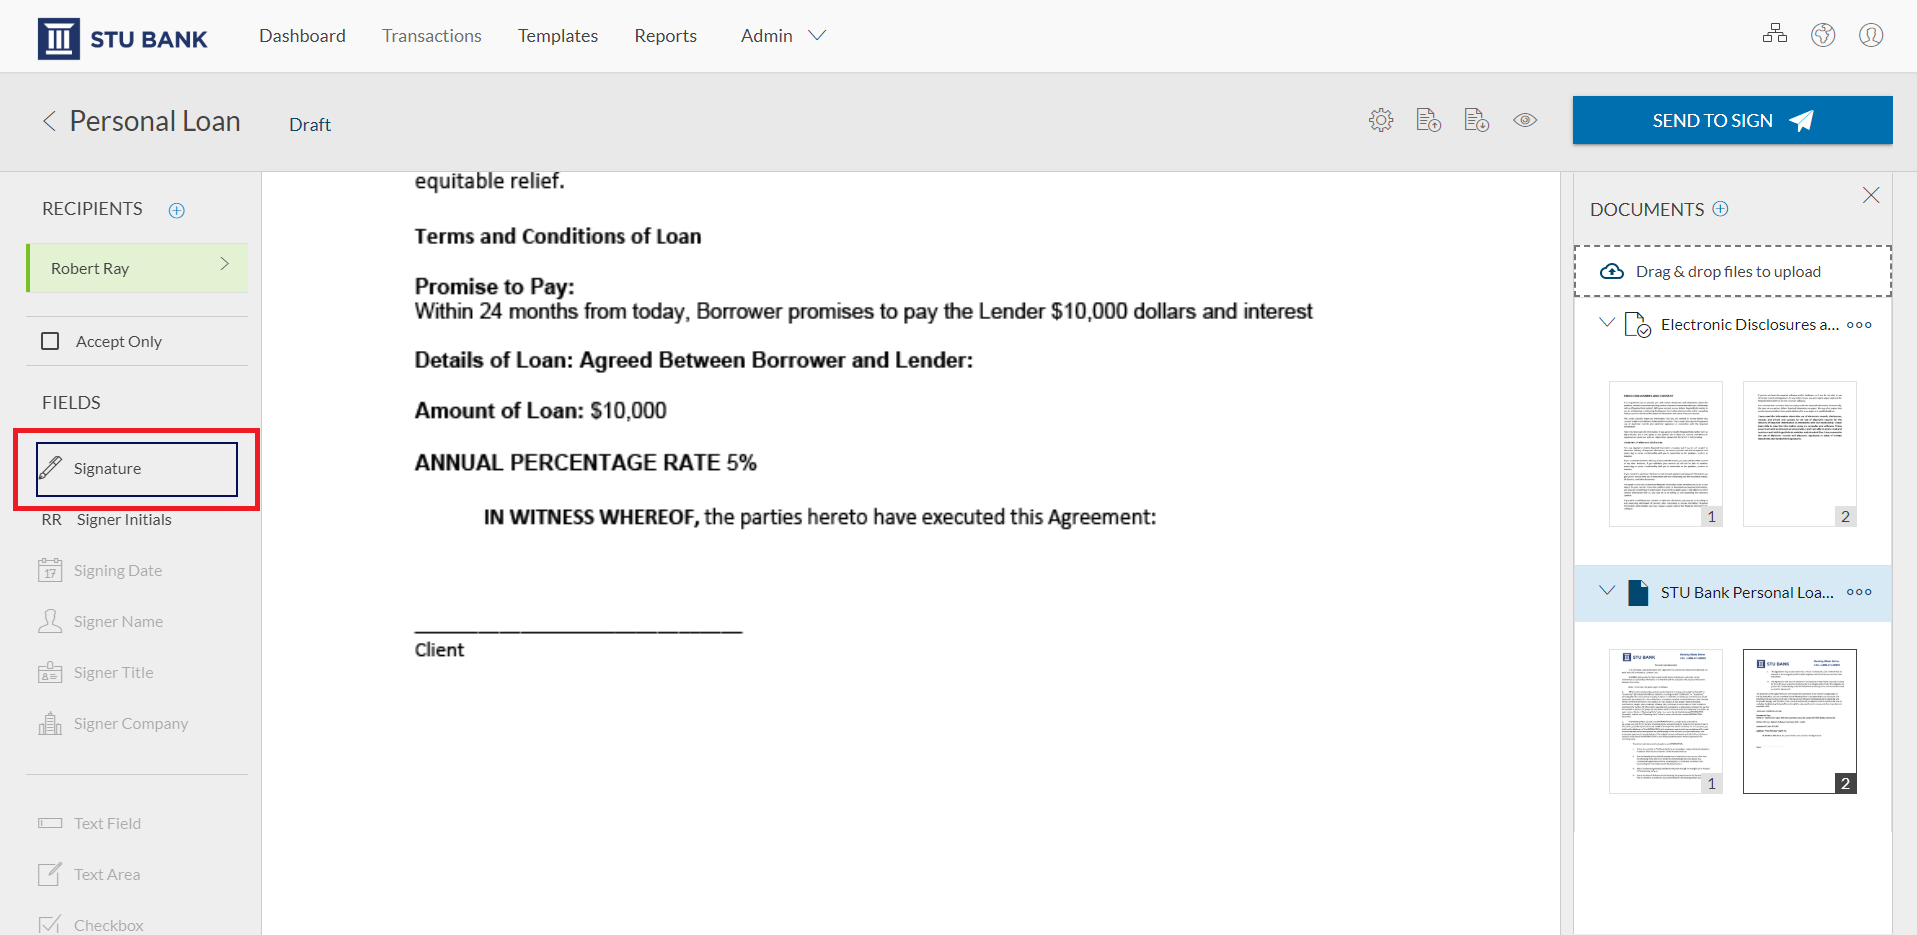
Add a signature by clicking the ”Signature” field and moving the signature block to a desired location on your document.
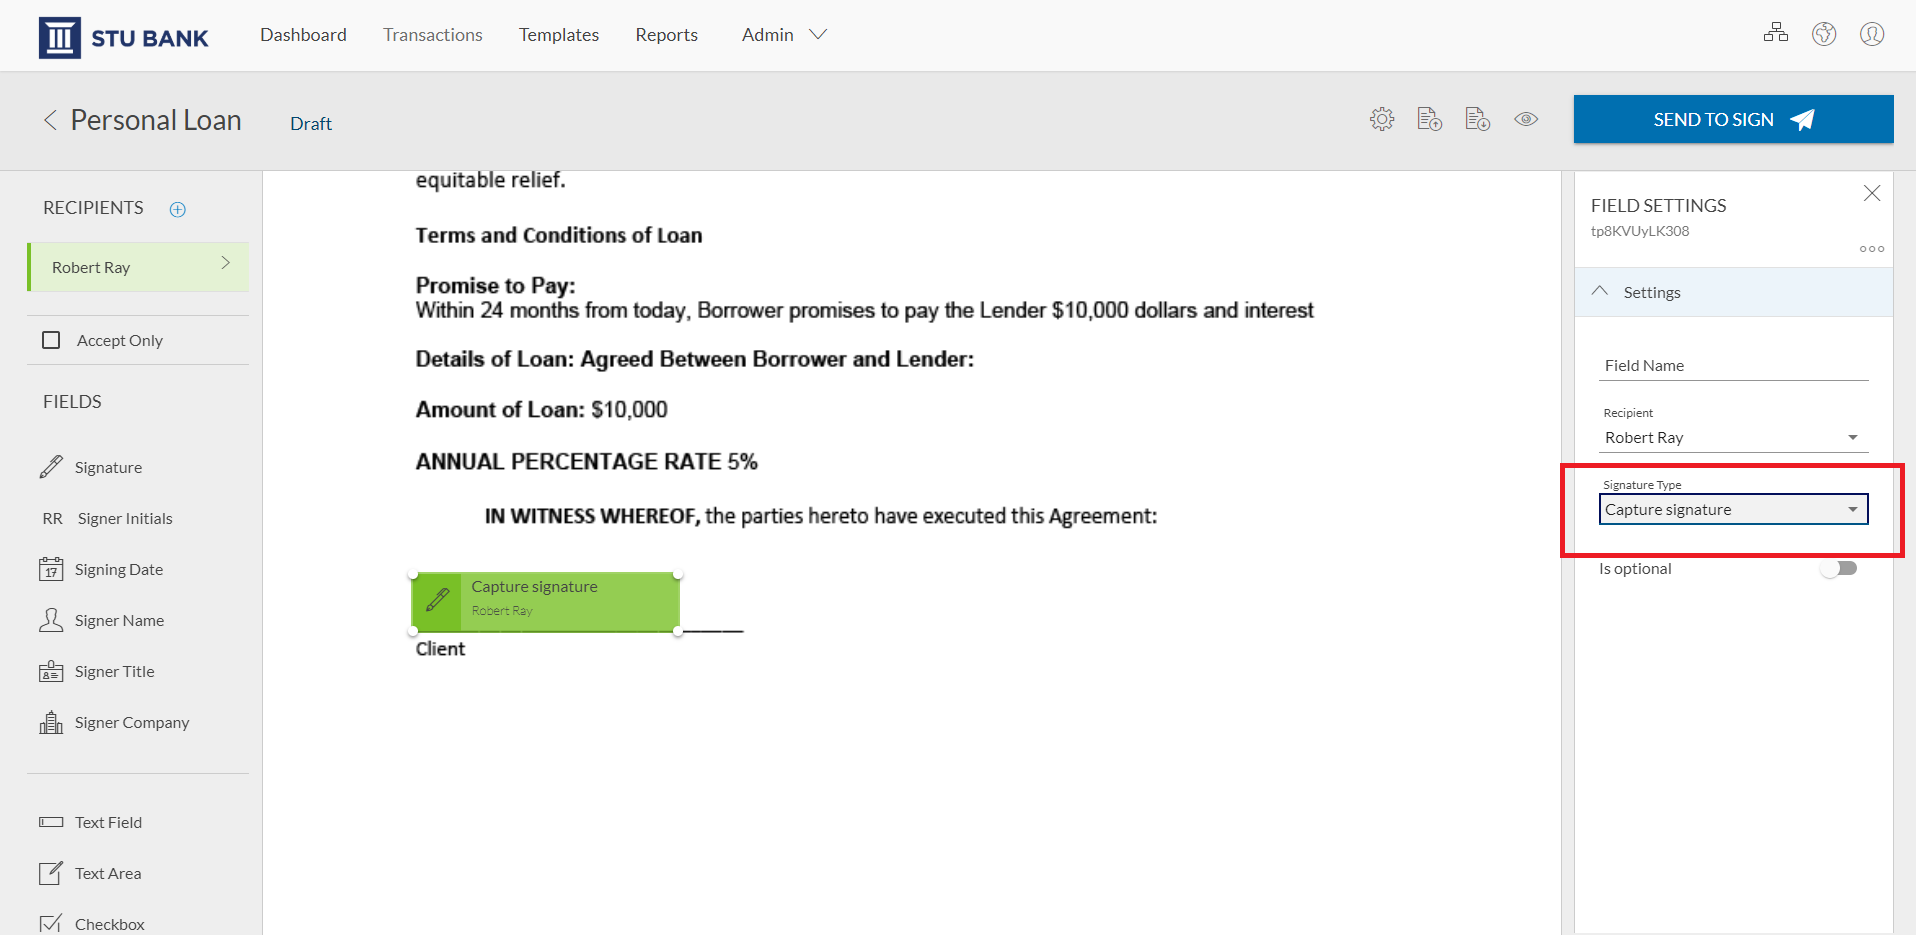
In the “Field Settings” section, select the “Capture Signature” option in the “Signature Type” dropdown menu to capture your signer’s handwritten signature in the document.
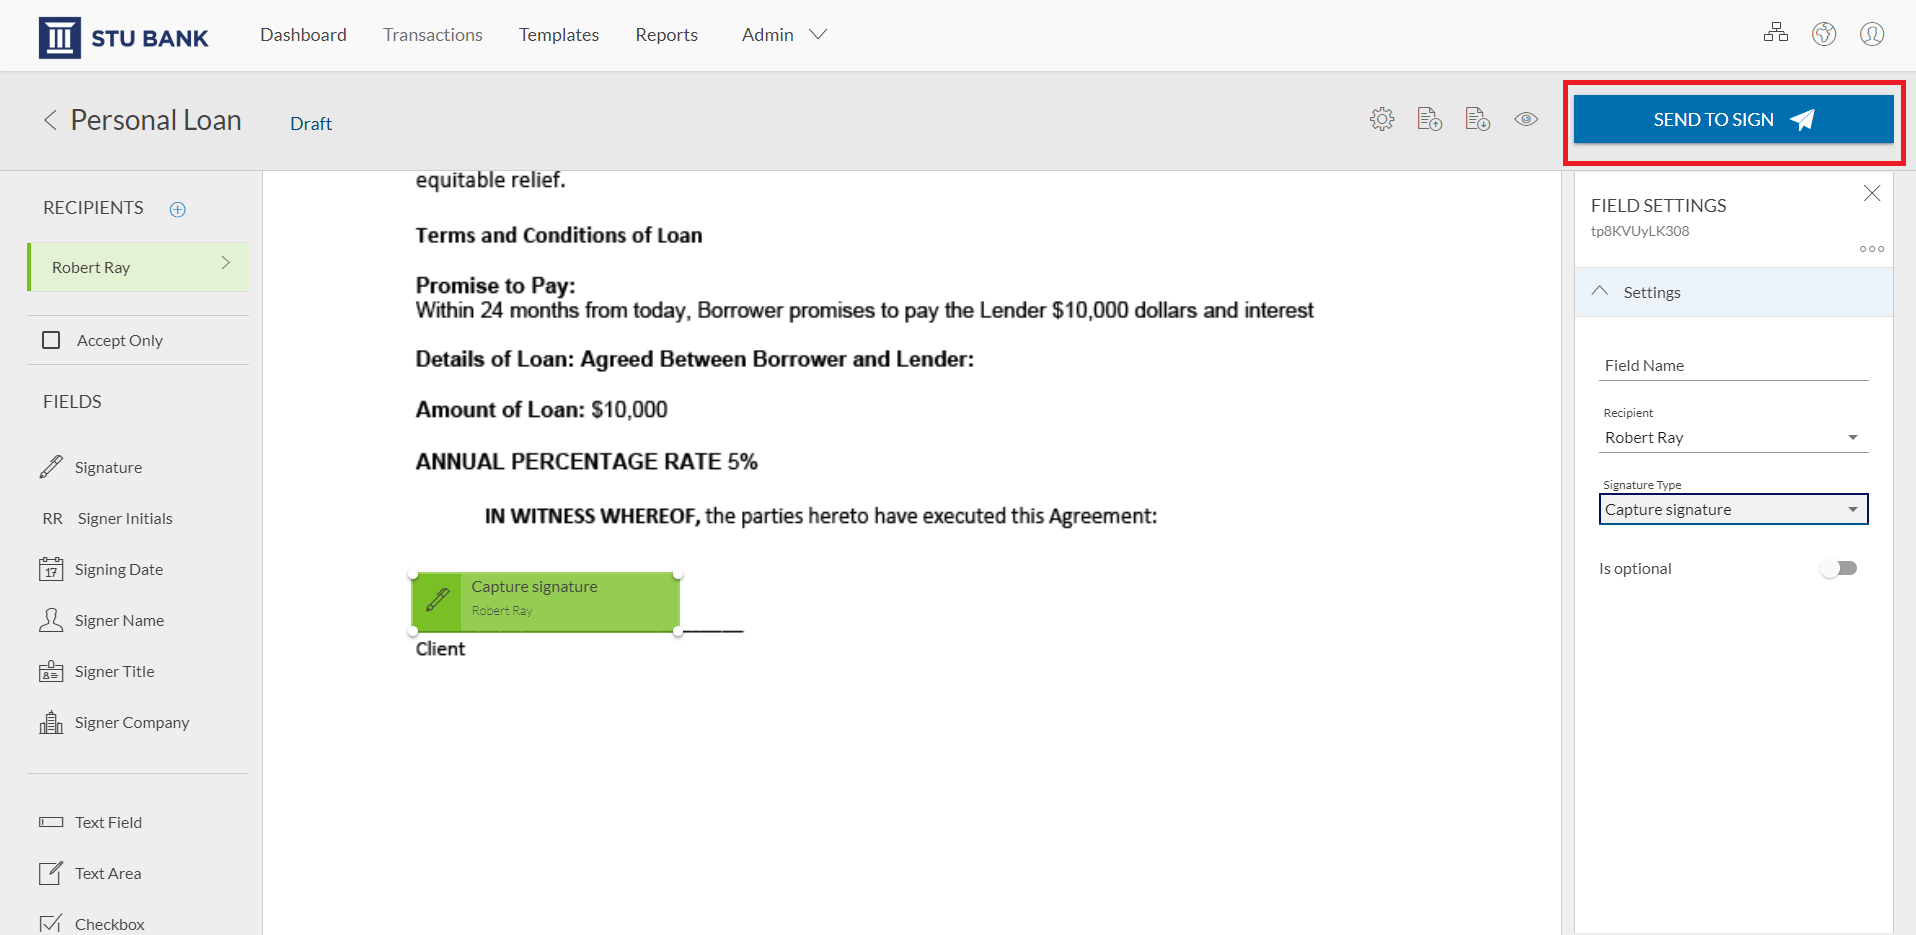
Your transaction is ready to send. Click ”Send to Sign” to route your document for signing.
How Signers Can Provide a Handwritten Signature
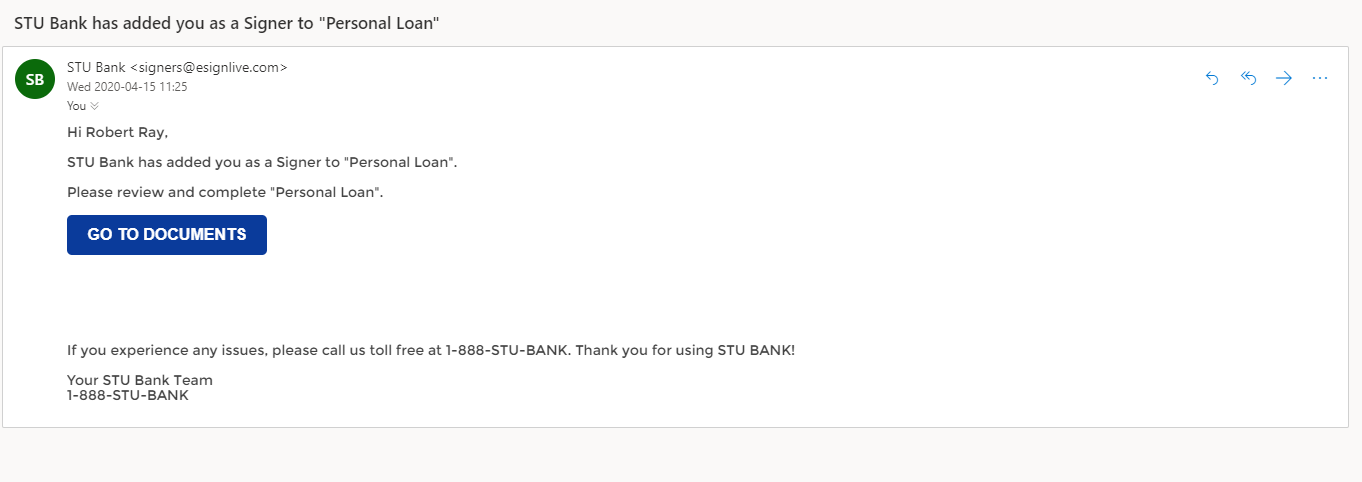
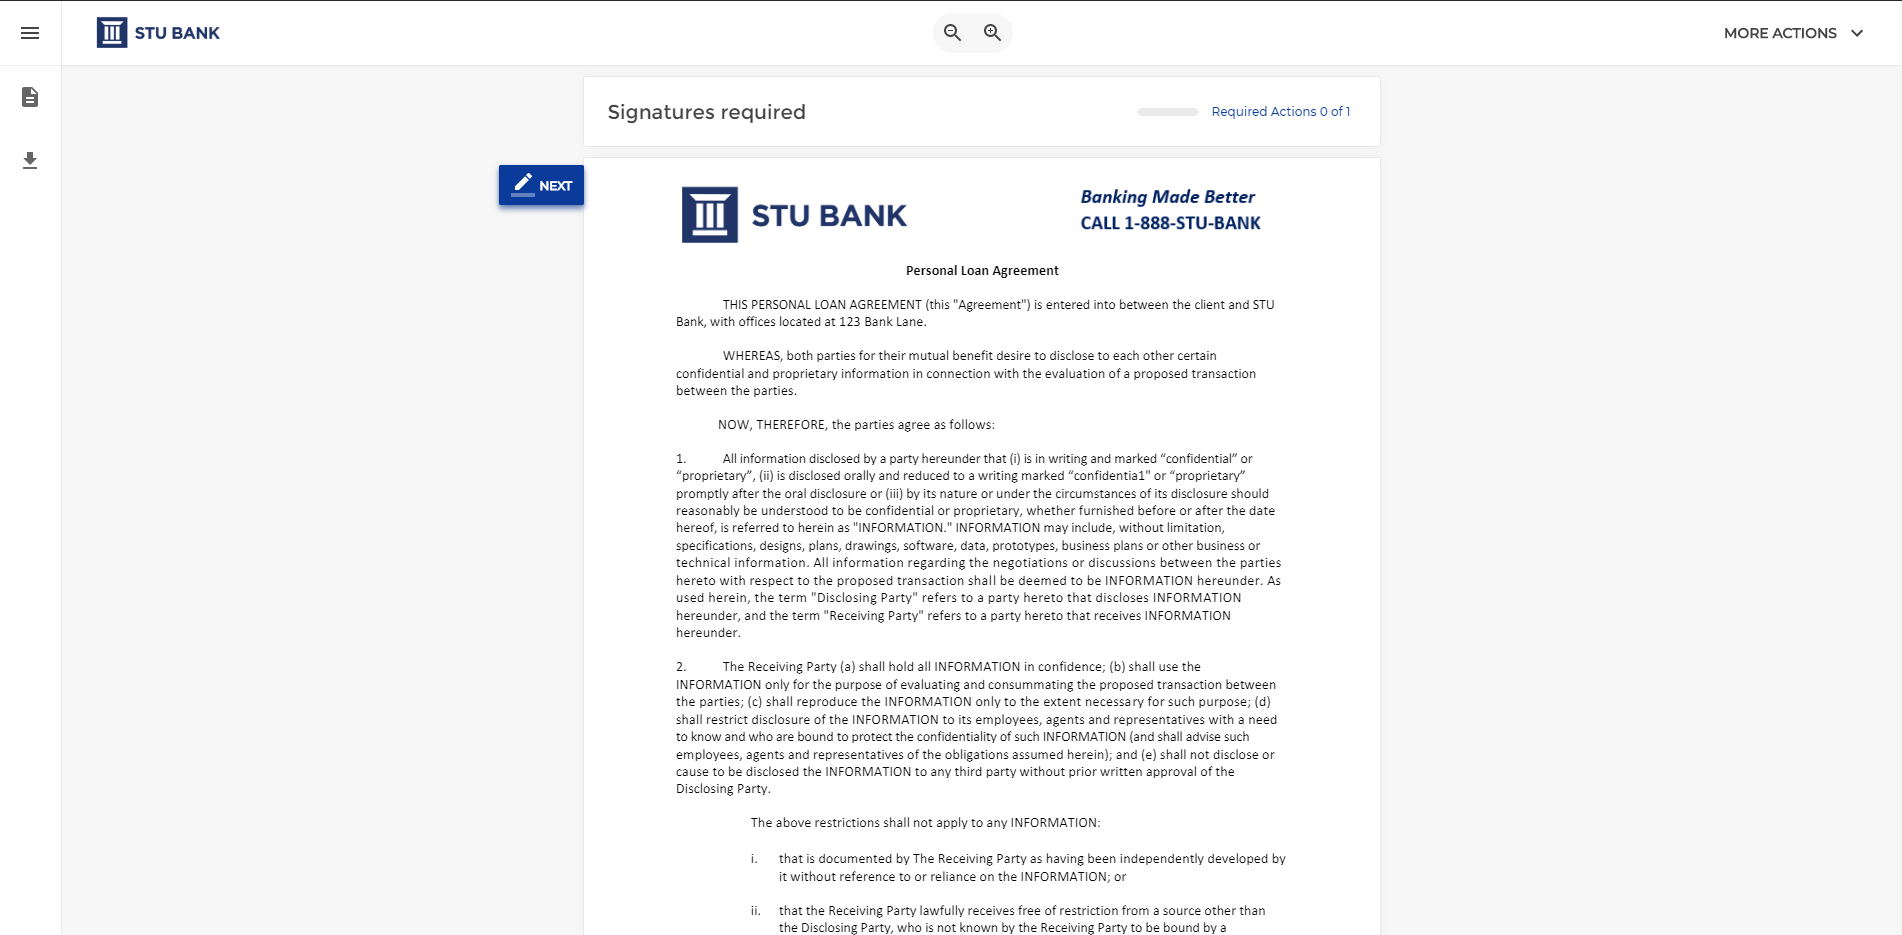
Your signer will receive an email to access the document to e-sign. They will click ”Go to Documents”.
They will then be directed to the document that requires their signature.
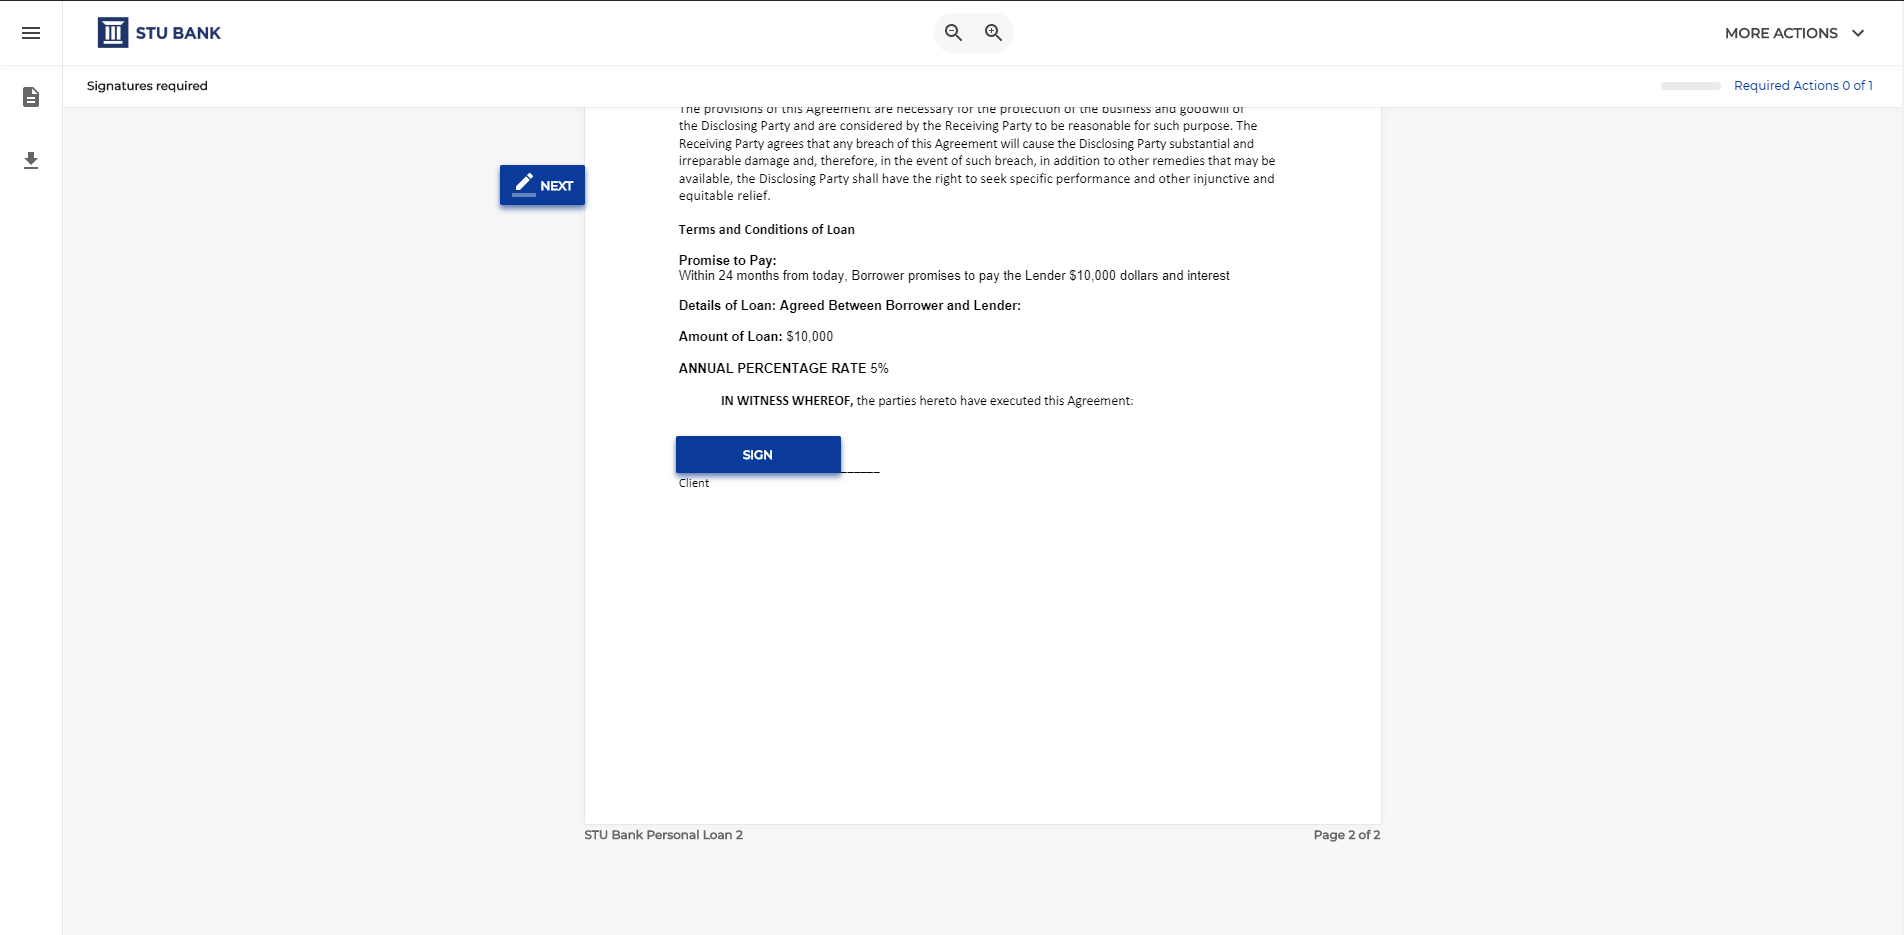
When it’s time to e-sign the document. They click the “Sign” field to apply their signature.
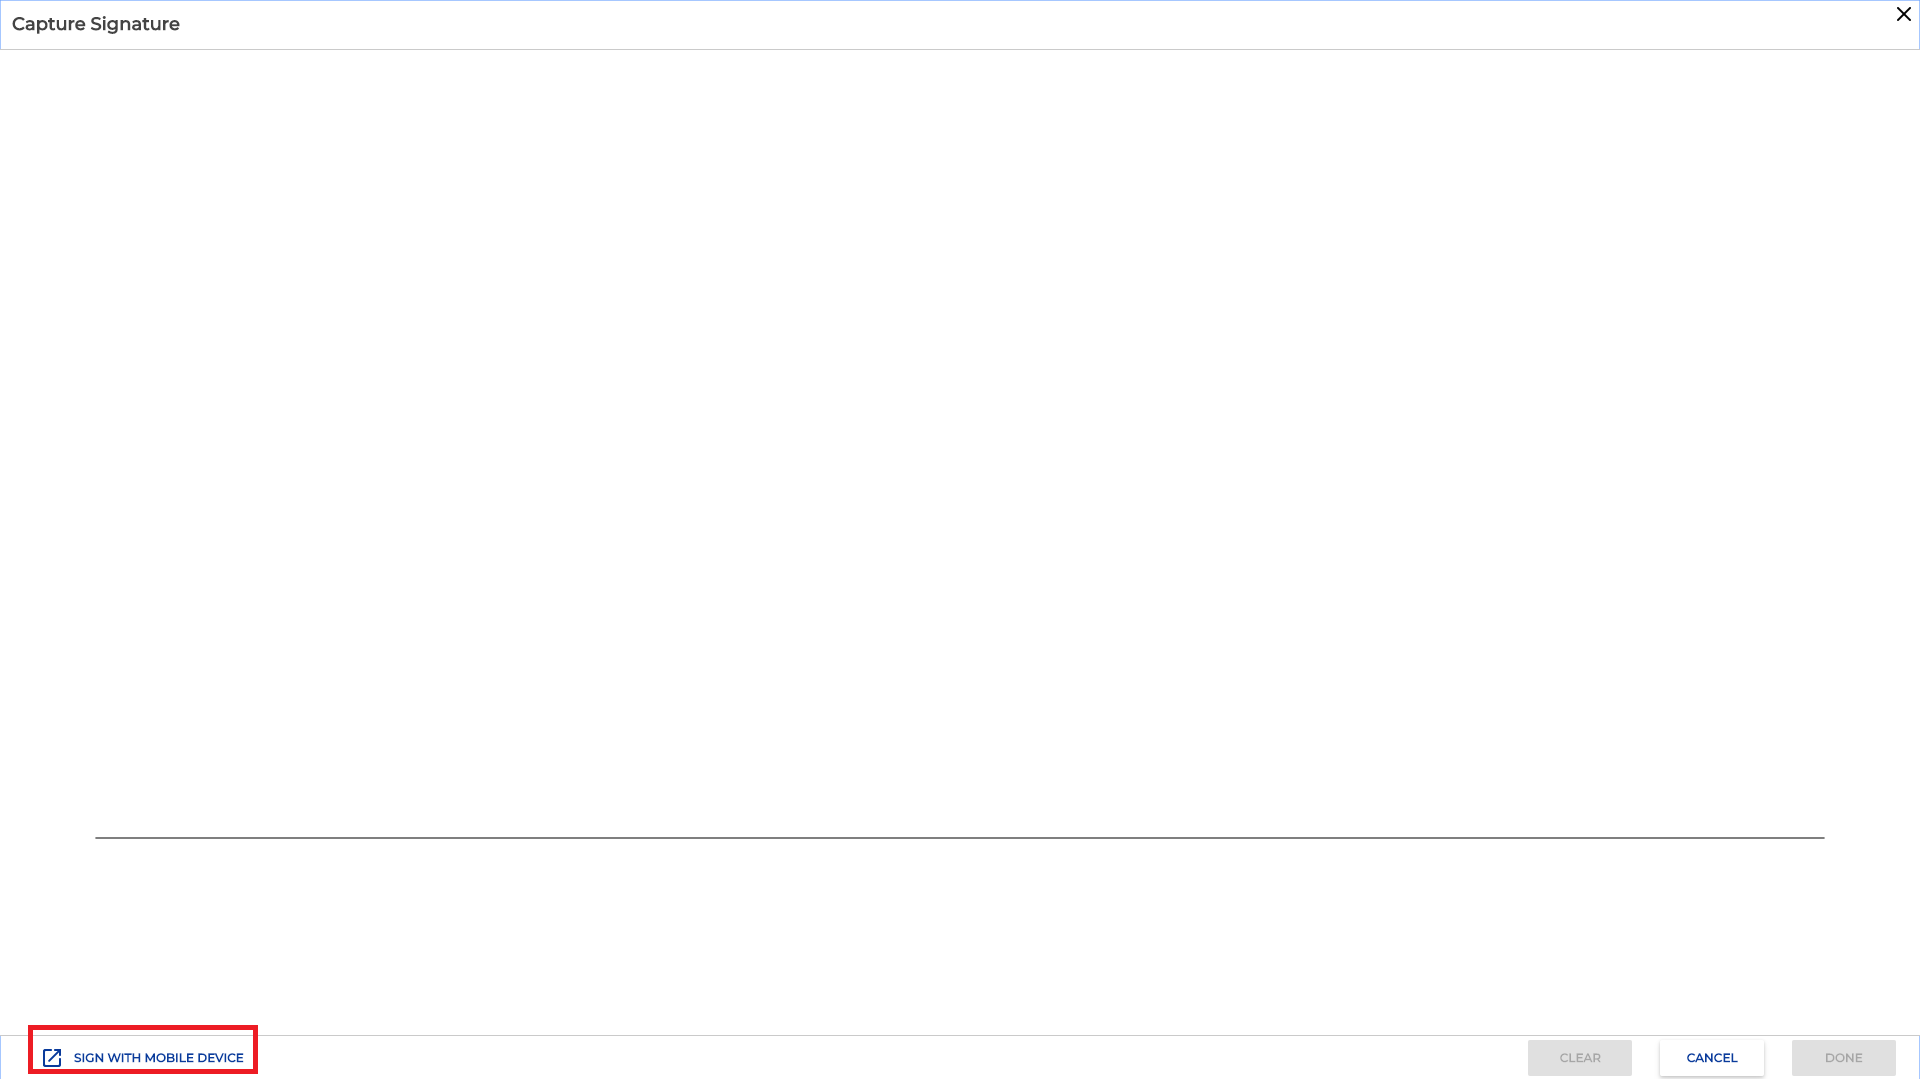
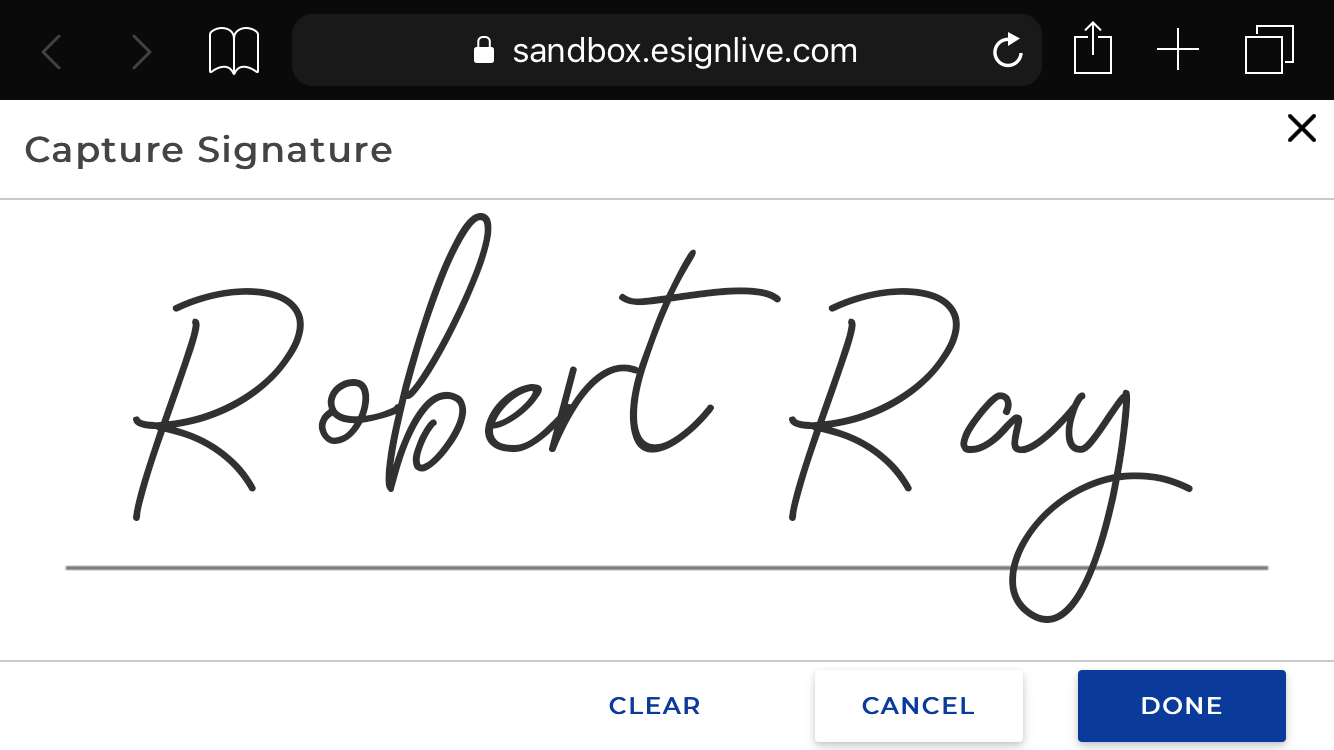
The ”Capture Signature” screen appears to capture your signer’s handwritten signature. They have the option to provide their handwritten signature from their PC or from their mobile device. In this example, the signer will provide their handwritten signature using their mobile device.
They select the “Sign with Mobile” option at the bottom left-hand side. An email is sent to the signer’s phone to access the document and sign.
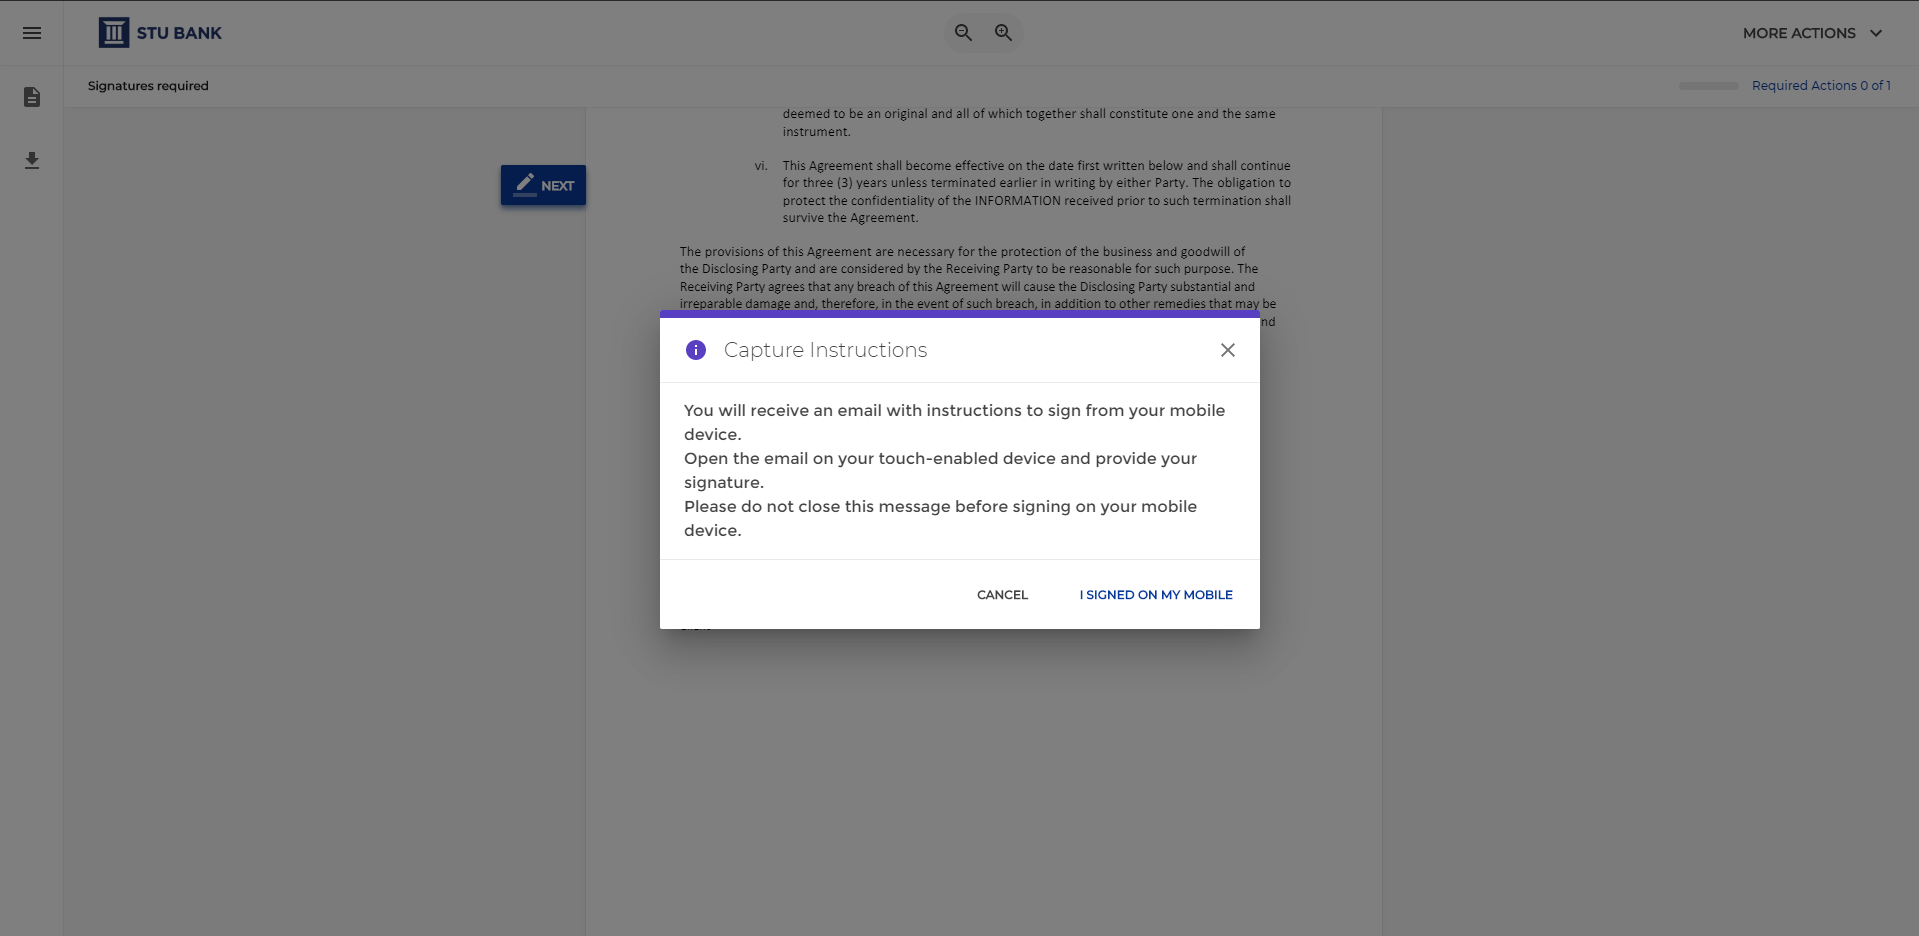

The signer provides a handwritten signature from their mobile device. And then taps “Done”.
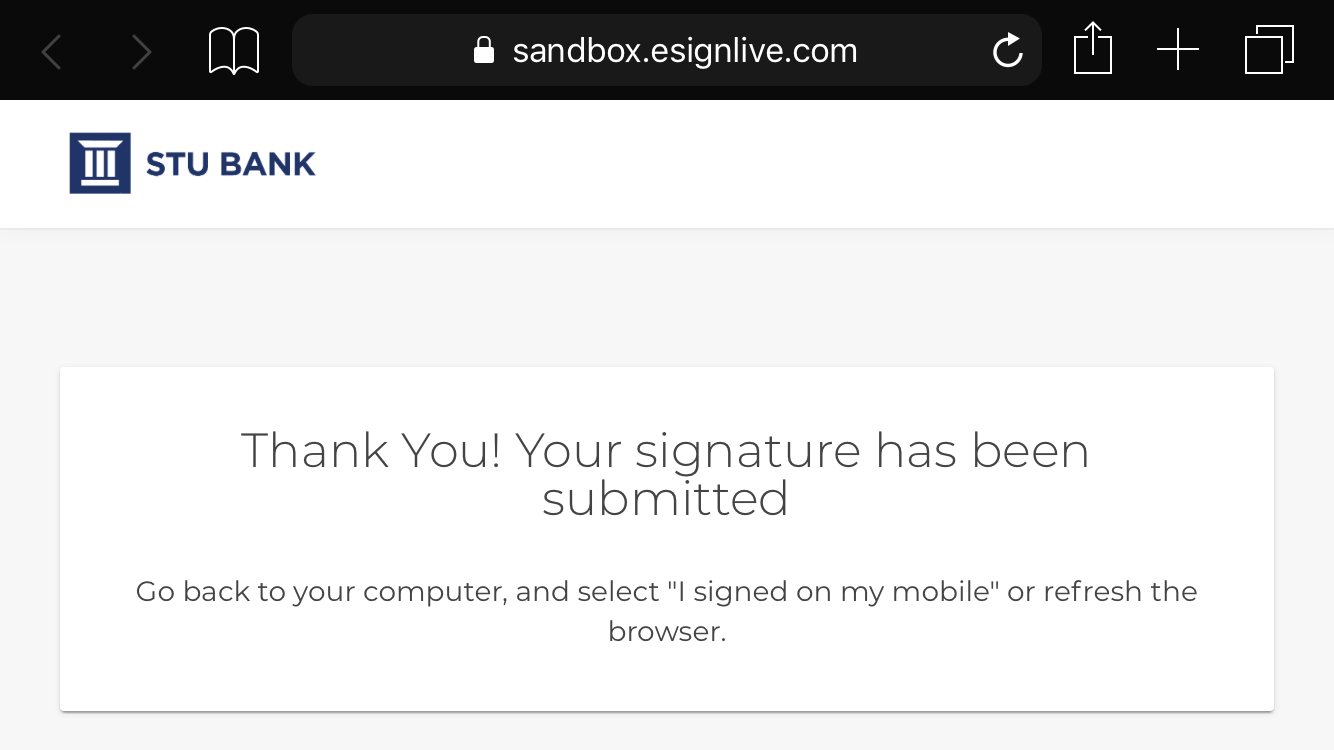
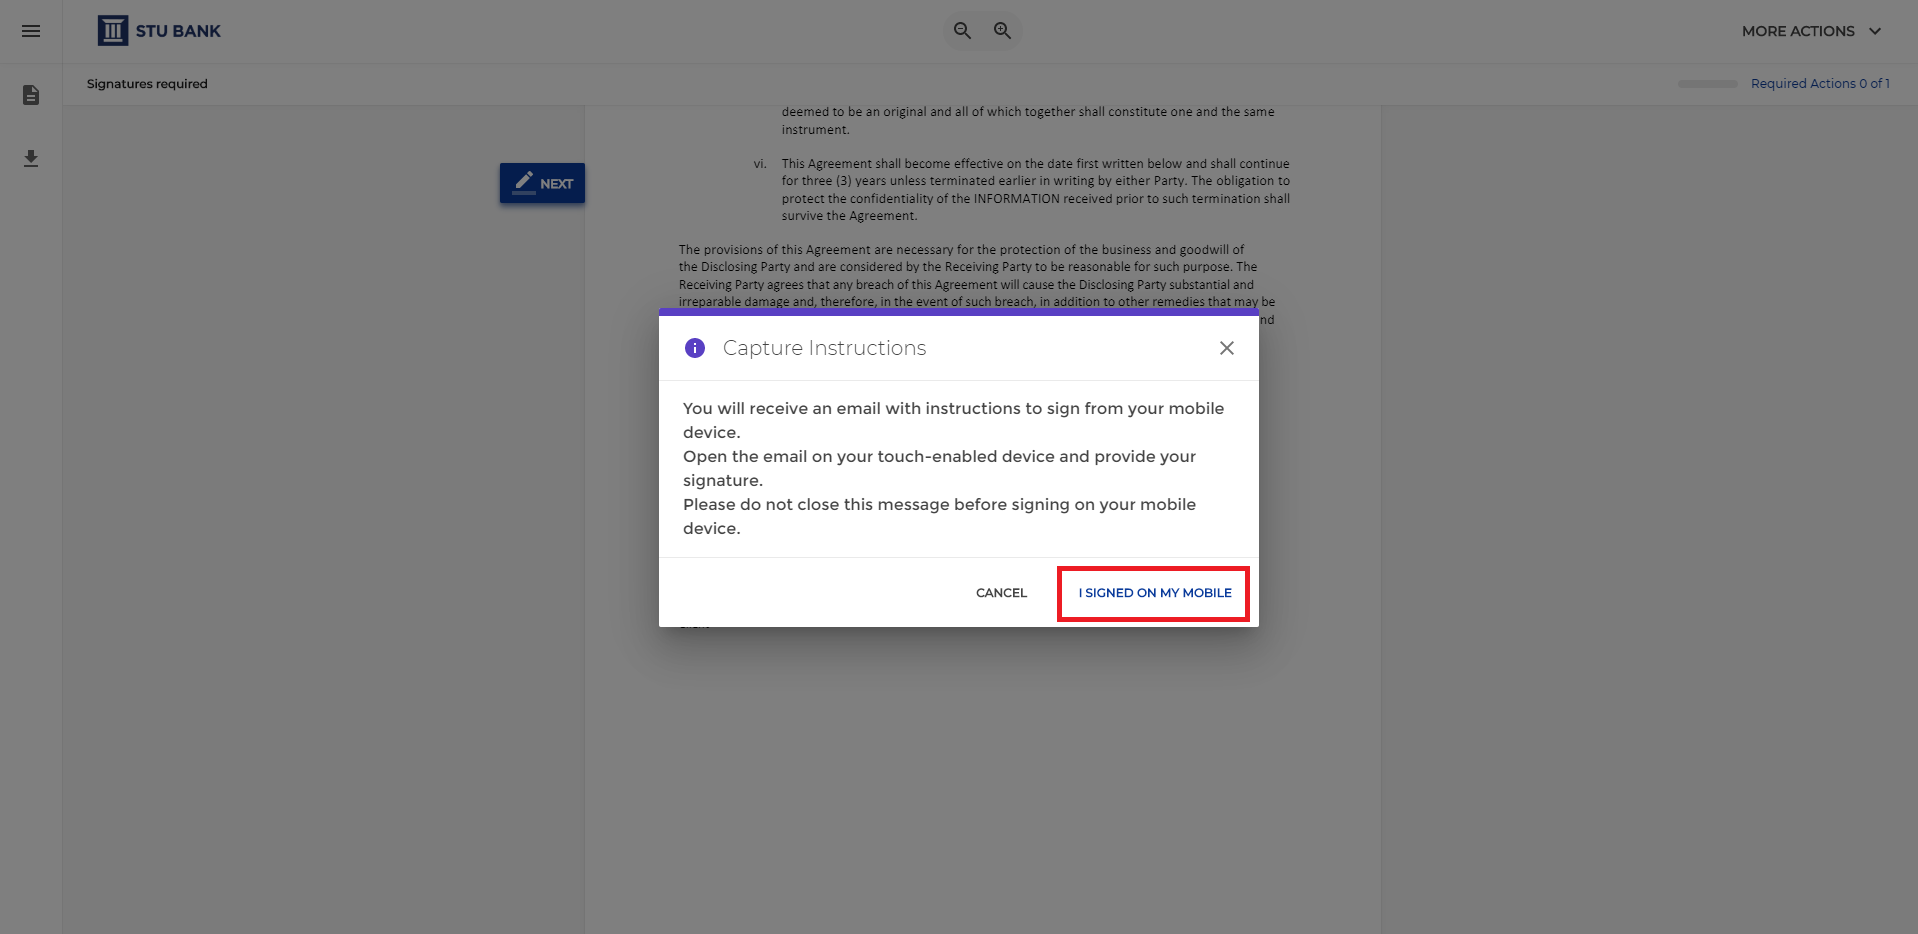
The signer confirms they signed from their mobile device by selecting ”I signed on my mobile device” on the ”Capture Instructions” screen displayed on their PC.
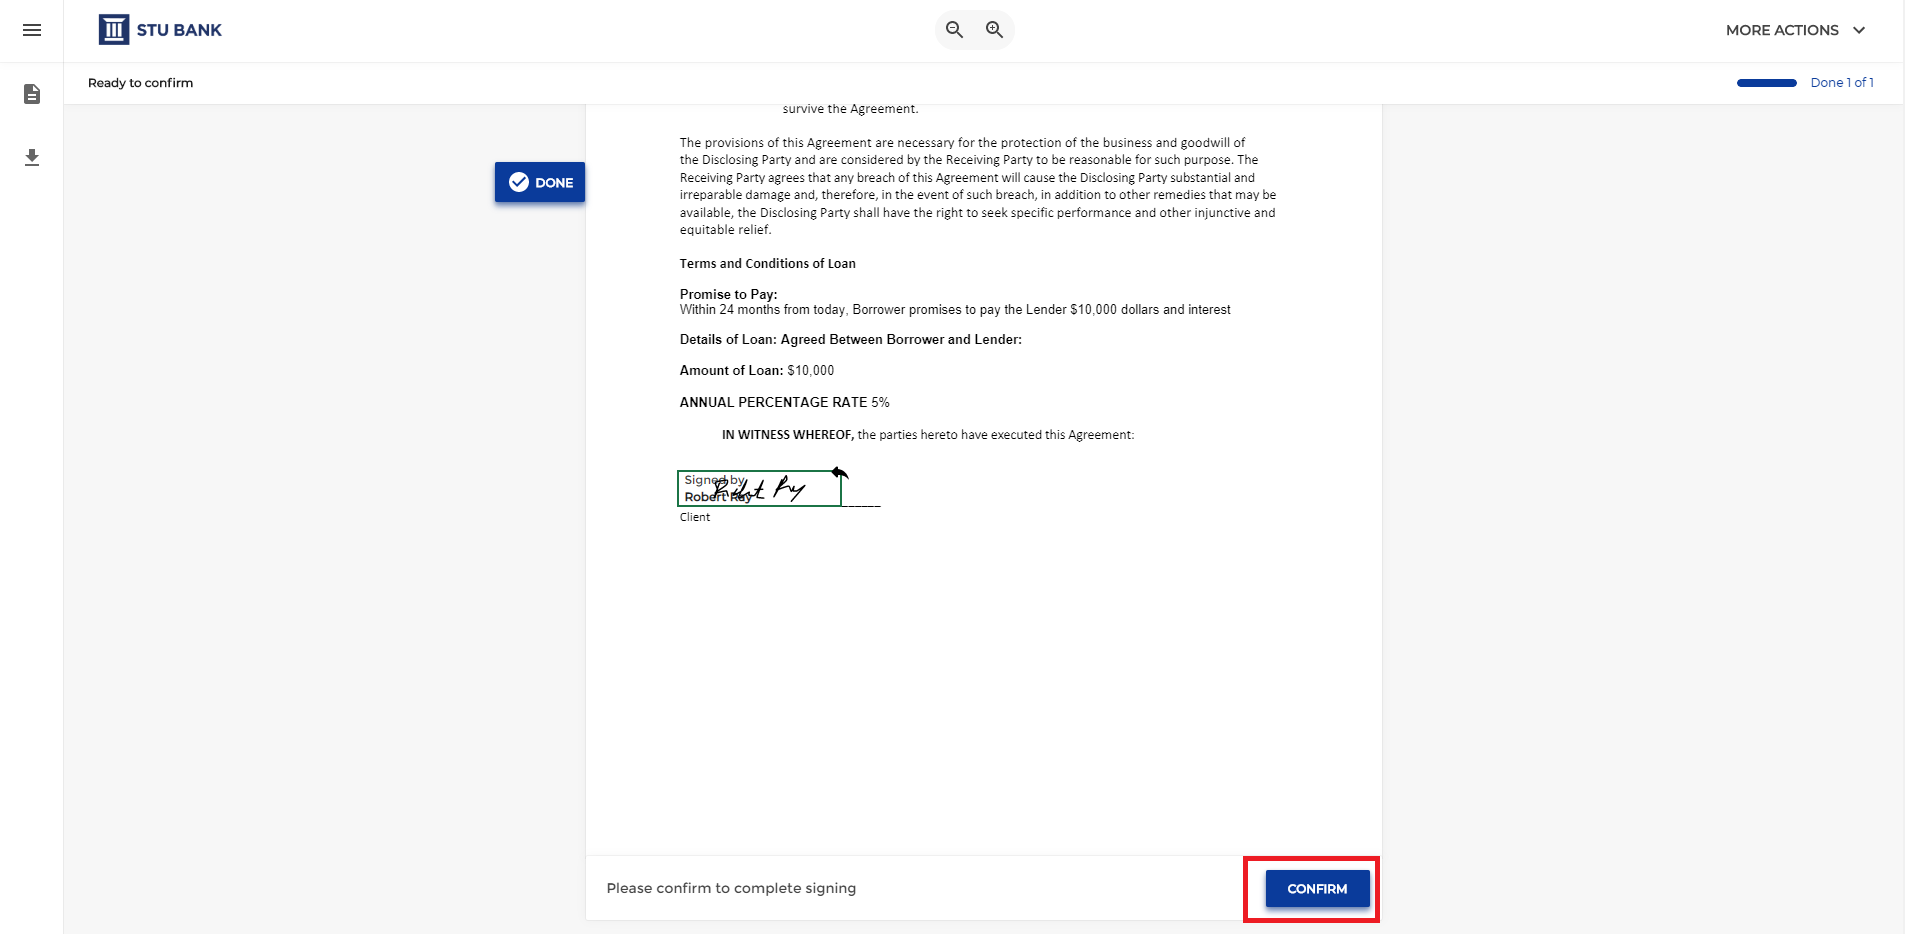
The handwritten signature that was captured on the signer’s mobile device now appears in the document. Once they are done signing the document, they click the ”Confirm” button. As a final confirmation that the signing process is complete, digital encryption is applied to the document.
FAQ Questions
Is Capture Signature included with my OneSpan Sign account?
Yes! Capture Signature is available with all OneSpan Sign plans at no extra charge. Contact our support team to enable the “Send to Mobile” option for Capture Signature. “Send to Mobile” allows your signers to send the transaction to their mobile device to provide their handwritten signature to documents.
Can I use Capture Signature for signers who want to complete the full signing process from their mobile device?
Yes! Senders can follow the same instructions to enforce the Capture Signature option in documents. Signers can access the transaction from their mobile device, tap the signature field, then provide their handwritten signature to complete the signing process.
What is the difference between Capture Signature and Mobile Signature?
Both Capture Signature and Mobile Signature provide flexibility to signers to review documents on their PC and provide a handwritten signature using their mobile device. Mobile Signature forces the signer to provide a handwritten signature on their mobile device, whereas Capture Signature gives the flexibility for signers to either provide a handwritten signature from their PC or from their mobile device.
Can I leverage this feature programmatically via the OneSpan Sign API/SDKs?
Absolutely. Sample code is available in the OneSpan Community Portal.
Group Signing
Step-by-step Instructions
Step-by-step Instructions
In this example, we’ll send a document to a new employee and our Human Resources team. As an administrator, you’ll first need to add users to your organization’s OneSpan Sign account. Go to the Admin panel and select “Users”.
To add a user, click “+ ADD” and enter the details of the user such as first name, last name, and email address. Click “Save”. An email will be sent to the newly added user asking them to activate their account.
Next, you can create a signing group with the users in your account. From the Admin panel, select “Groups”.
Click “New Group” and enter a name for the group. You have the option to enter a group email address or a group member’s email address. Select “Send emails to the members of this group instead of the specified group email”, so each member of the group receives an email notification to sign the transaction. Click “Save”.
To add group members, click the group and enter the member’s email address in the field and click the envelope icon.
Now it’s time to send the transaction out for signing. Go to the Dashboard. Select ‘New Transaction’ and enter a name for the transaction.
Click the ‘Create’ button to proceed.
Now it’s time to add a document to the transaction. Click the ‘Add’ button to upload a document from your files.
Next, let’s add the recipients to the transaction. Zane will be the new employee. Now we’ll add the Human Resources group as a recipient. Click “Add Recipient”. Click “Group” and select the Human Resources group. All of the members of the Human Resources group will receive a notification to sign the transaction.
Click ‘Next’ to prepare the document for signature.
Let’s add signature fields to the document.
The transaction is ready to be sent. Click ”Send to Sign” to route the document for signing.
Zane will sign the document.
Now it’s time for a member of the Human Resources group to sign the document. Frank will sign on behalf of the Human Resources Team.
FAQ Questions
Is Group Signing included with my OneSpan Sign account?
Yes! Group Signing is available with all OneSpan Sign plans at no extra charge.
Can users create groups for an account?
Account administrators and managers can create groups and add users to a group
What is the maximum number of groups I can create?
There is no limit to the amount of groups that can be created in OneSpan Sign.
Can I use Group Signing for external signers?
At the moment, Group Signing is available to internal signers only.
Can I use additional authentication methods for group members accessing documents to sign?
Group members are prompted to authenticate themselves by logging into their OneSpan Sign account to access the documents to sign.
Can I leverage this feature programmatically via the OneSpan Sign API/SDKs?
Absolutely. Sample code is available in the OneSpan Sign Integrator’s Guide.